


Posted:
Can some one help how to make icons of images😊
crop them and resize image 100*100

CHACHI vs CUTEY 11.12

BoI aka Harminder ka tune change start hogaya!!!!

🏏South Africa tour of India 2025: India vs SA - 2nd T20I🏏
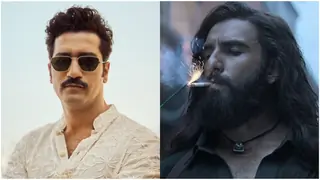
Hrithik ‘praises’ Dhurandhar but he also disagrees with its politics
Is Yrkkh in trouble?
Alia Bhatt & Salman at the Red sea Festival
Film Critics Guild issues statement

Who is the most hated character

Happy Birthday champion: Gaurav Khanna
I hope pari sudhar nahi gayi ho!
Kritika Kamra Gaurav Kapur Confirm Relationship

Mannat Har Khushi Paane Ki: Episode Discussion Thread - 35
CONFUSED SOULS 12.12
15 years of Ranveer Singh
Saahil & Pooja Set To Return!!
Critic Roshan is back with another review of Dharundhar!!
Industry support for Dhurandhar (a compilation)

Should India Ban Social Media for Children Under 16 Like Australia?
Paresh Rawal deletes his distasteful tweet on Anupama Chopra
Akshaye Khanna is the highest grossing actor of 2025!!!
Can some one help how to make icons of images😊


Originally posted by: Trouble.
Thankyou for the tut Saraa <3
The 6th step : I don't have the Convert timeline option
Originally posted by: Trouble.
Thankyou for the tut Saraa <3
The 6th step : I don't have the Convert timeline option
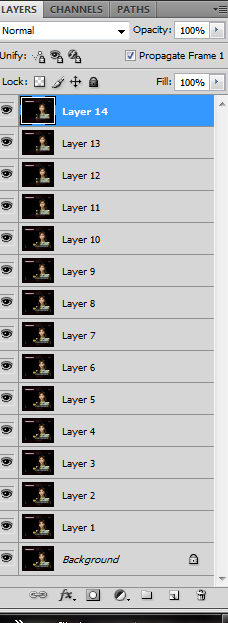
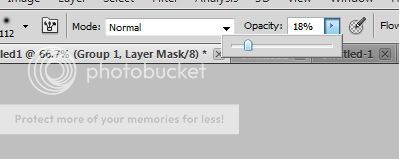
^Shabbo! That's an amazinggg tutorial!
It's IR? Imageready though, right?
The screenshots look like it's PS. Are they the same thing? 😕


This is a thread where you all can share everything anything, be it be a Tutorial, PSD, Suggestions, Textures, Animations, etc Try and avoid too...


 Current Affairs
 Anupamaa
 Shiv Shakti


850