
Kyunki Saas Bhi Kabhi Bahu Thi 2: EDT # 6

DANCE DANCE🕺💃 20.12
New Entrant - Swati Sharma of YHC fame

To me, Saiyaara was the biggest win of 2025
Dhruv Rathee to bring another 100cr for Dhurandhar
Such an insult!!!
NDTV Indian of the year awards- Janhvi Vicky Kapil Ahaan Aneet Ananya
“Akshaye Khanna overshadowed Ranveer in Dhurandar”
How Alia got her role in Gangubai
B Praak And Wife Announce Birth Of Baby Boy
Kangana Ranaut Praises Dhurandhar
BANTWARA CUT 21.12

🏏India U19 vs Pakistan U19, Final ACC Men's U19 Asia Cup 2025🏏
Originally posted by: afucutie
gr8 tut everyone 👏
hey luvshamit...
I got this idea frm natasha fan..when u make ur sig..copy the same layer and in the layer pallette...change ur topmost most layer from normal--overlay..and then on top..go to effects and blur---gaussian blur..i kept it at 3..this should make ur pic glow a little 😳
hope this helps 😃
can sumone tell me where i can get good brushes for psp 7 and if i can get a forever version of psp 8?? 😳pleejjjj 😆
brushes
hope this helpsOriginally posted by: IBserenity
Anyone have any good avi tutorials?
https://community.livejournal.com/icontutorials/5203.html

Hey everyone, i have got requests and ques on How to make a siggy...so i thought i wud make a tutorial...and ofcourse if you need further help...feel free to pm me😳 So here it goes..and please do tell me if you thnk this is help full😛
"How To Make A Simple Siggy Tutorial (using PSP 8)"
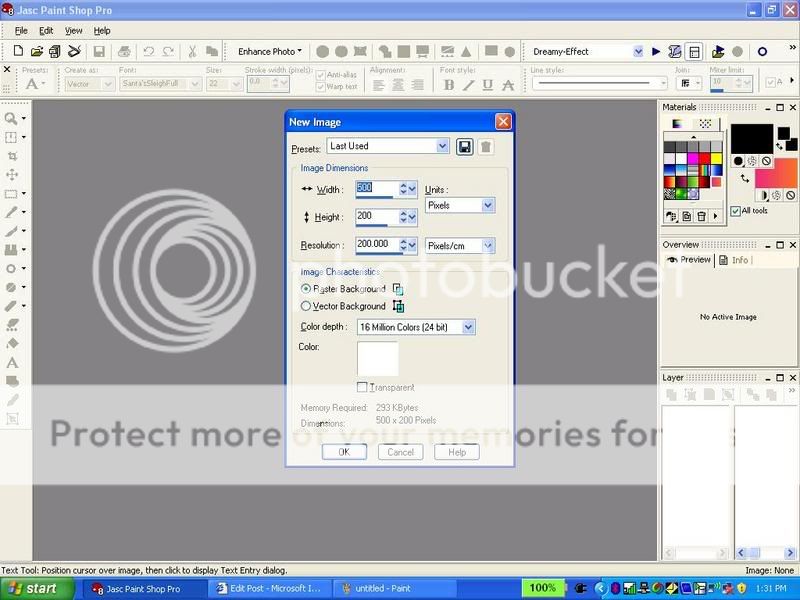
1. Open a new image (ctrl+n) about (w)500x(h)200. Click ok
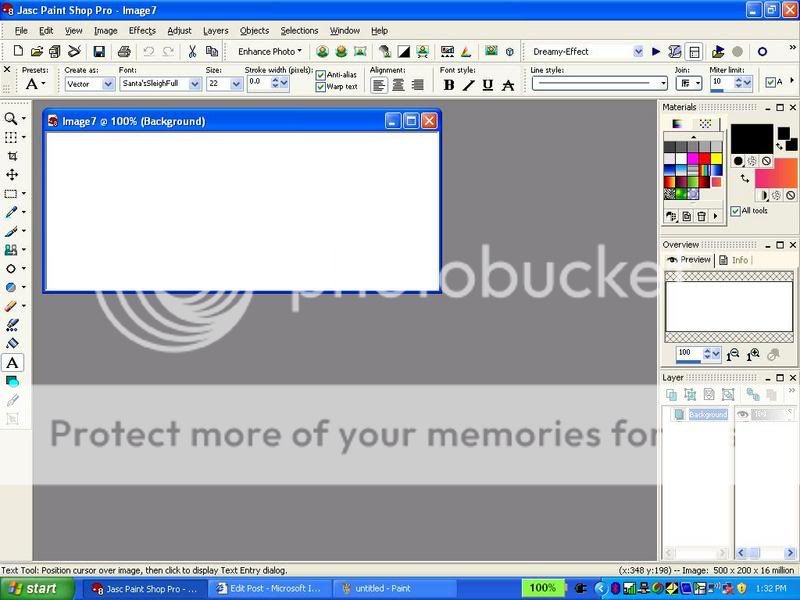
2. You should see something like this:
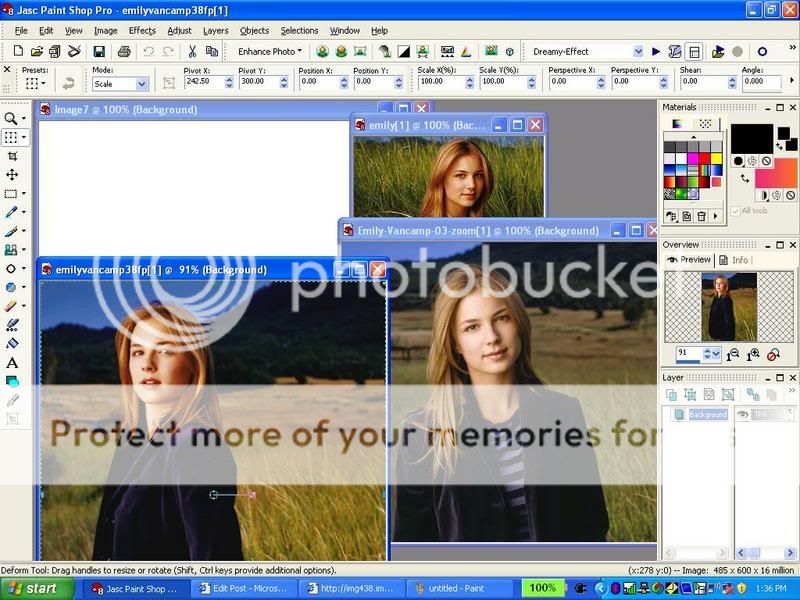
3. Choose about 2-3 pictures you want in your siggy. I will choose these for the tutorial:
4. Drag the pictures into PSP 8.
5. Click on the blue bar of the 1st picture (to get that picture)
6. ctrl+a (selct all) and ctrl+c (copy) that 1st picture
7. Go to your blank new image and click on the blue bar of that blank image
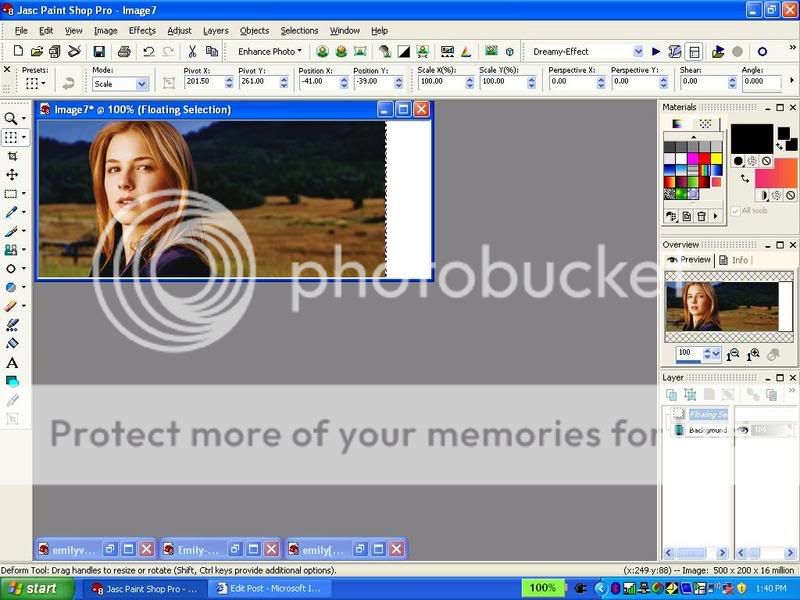
8. ctrl+e (paste - doNOTdo: ctrl+v)
9. That image shud appear onto your blank siggy:
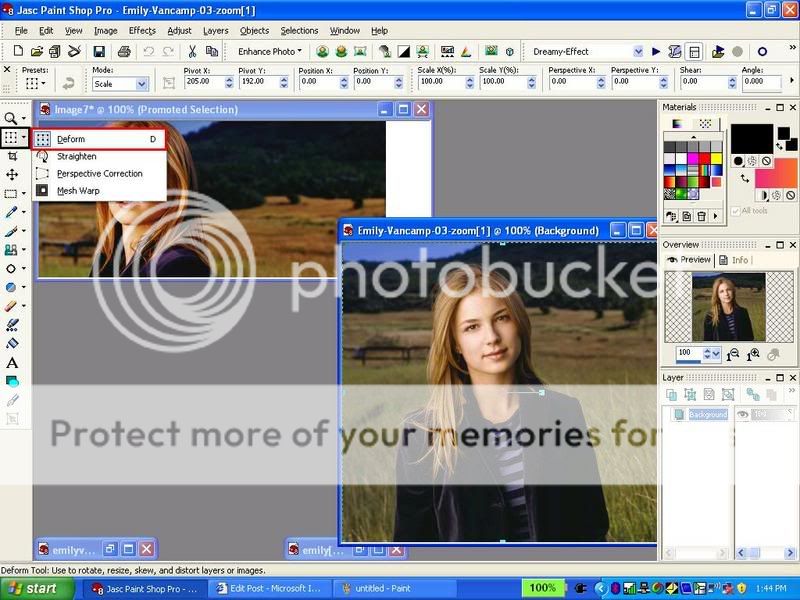
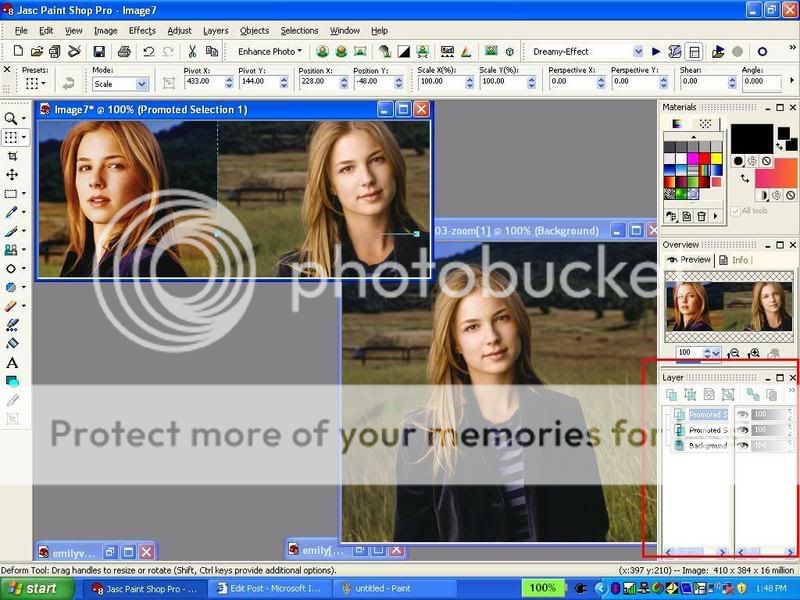
10. click on the deform tool:
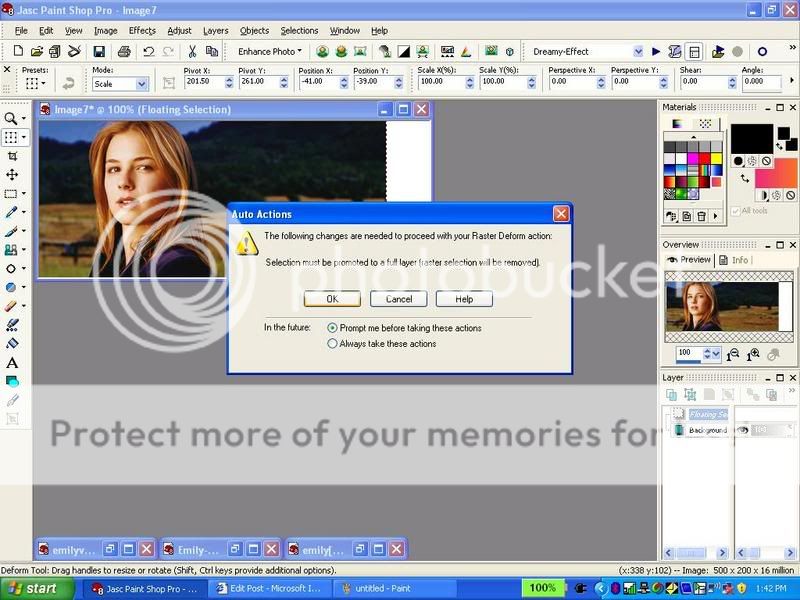
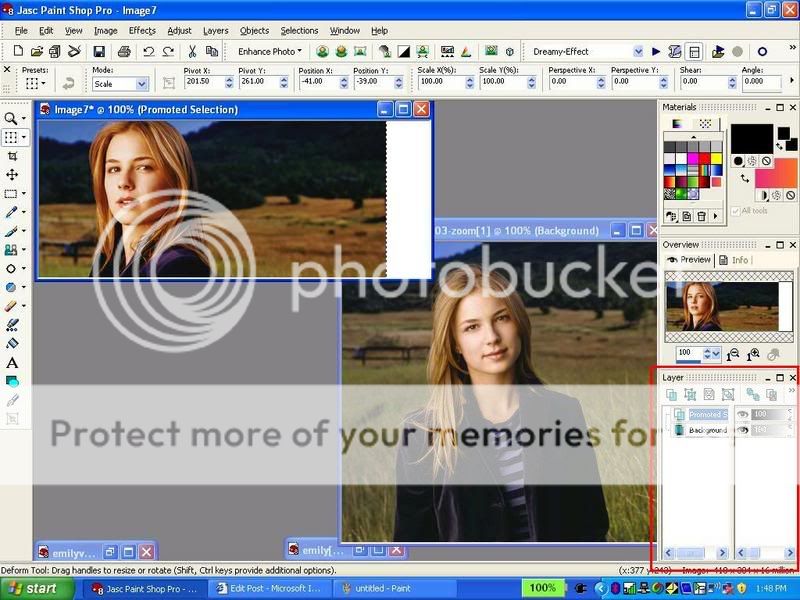
11. Click on that picture and a message like this shud come up. Click ok. this will make a Promoted layer for you. This is very important. Check you layers palette to see if you have now two layers: Backround and Promoted Layer.
12. You can change the place and size of your 1st pic w/ the deform tool...do this if you want before you go onto the second pic.
13. Ok, now go to your second picture: repeat the same things that you did with your 1st picture. (add the pic to ur siggy basically the way u did with your 1st pic)
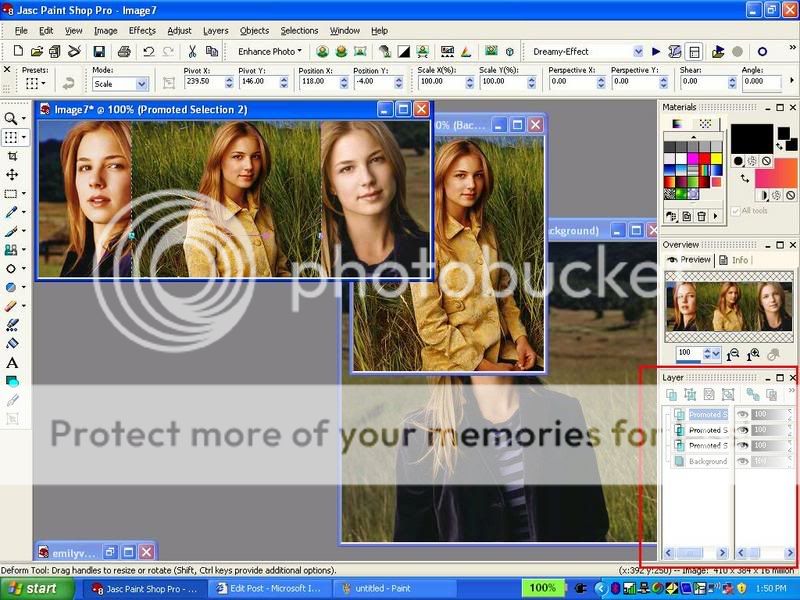
14. Now you should have 3 layers in your layer palette of your siggy
15. Now Add your 3rd pic the way u did with ur 1st and second pic
16. Now you should have 4 layers in your layer palette.
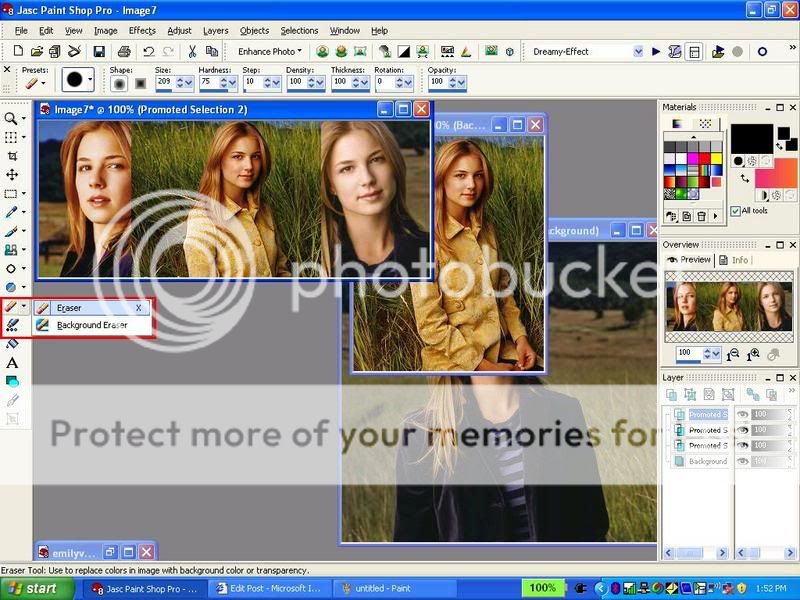
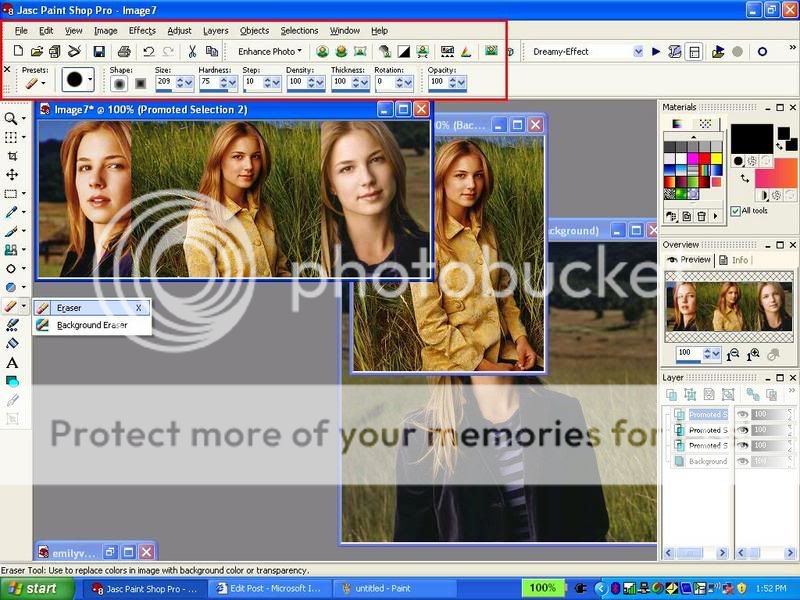
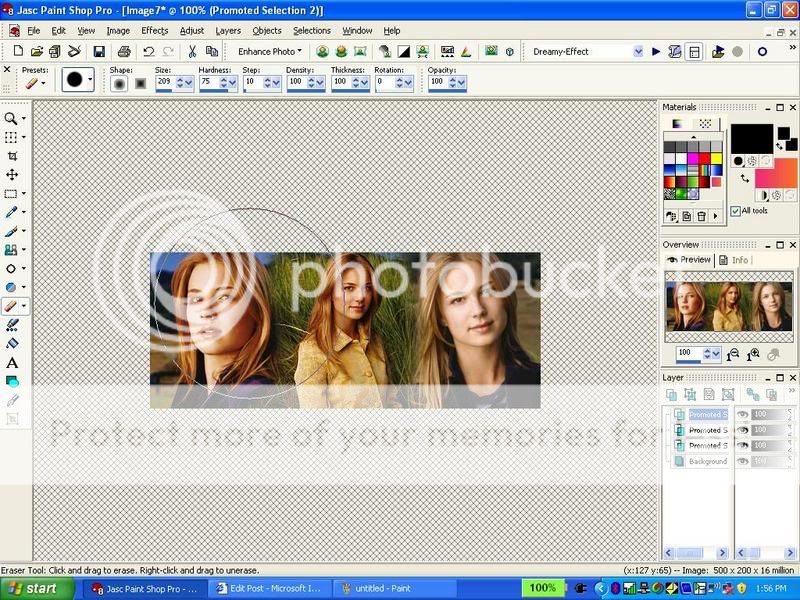
17. Now your siggy looks kinda unblended right? well i have a little secret i use to blend...i use the eraser tool: So selct this tool. Make the settings like mine (second pic) (but ofcourse you can adjust the settings urself to fit ur preference)
18. then selct your topest layer in ur layer palette. (ur4th layer)
19. Erase a bit of your 3rd pic on ur sigy with the tool so it looks kinda blended with the pics below it. Like this:
20. Now repeat the eraser tool if you want with your 2nd and 1st pic if you want. But i thnk that im done with that part.
*****You dnt have to do this******
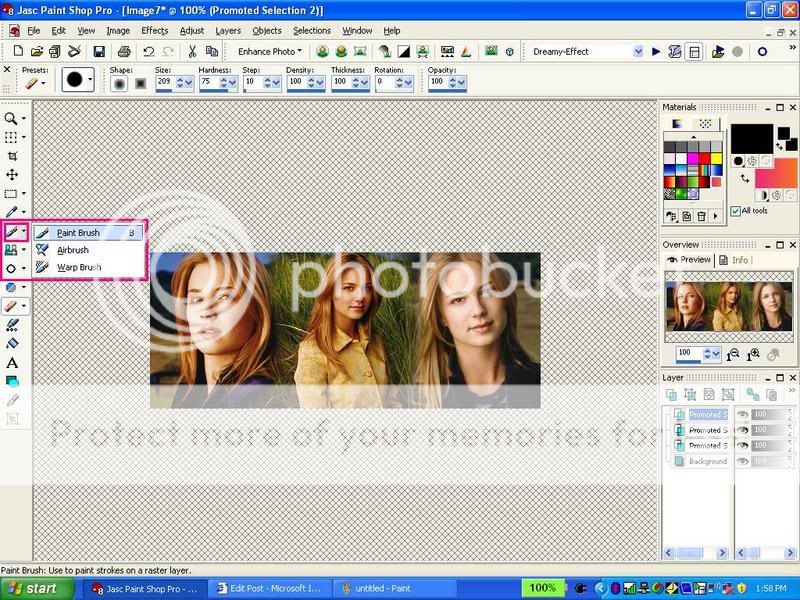
21. I will add some brushes now.
22. Select your brush tool:
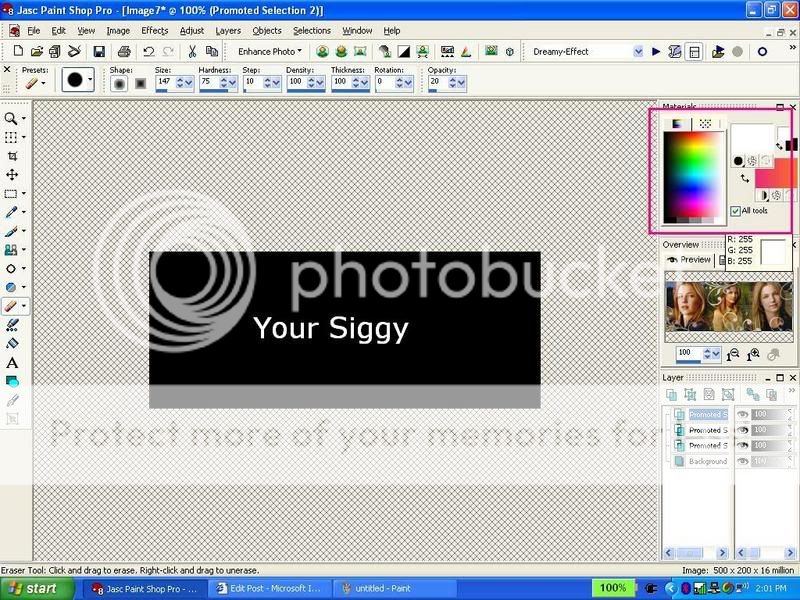
23. Choose your brush color from your materials palette (i will choose white)
24. Choose your brushes from here: (i added most of my brushes..if u r a starter u probably have the normal brushes that PSP came with. You can use those.)
25. Add your brushes. where you want..this is what i got using the brushes i added...as i said b4 u can use the strters ones too. (i put a copyrite brush on there i made)
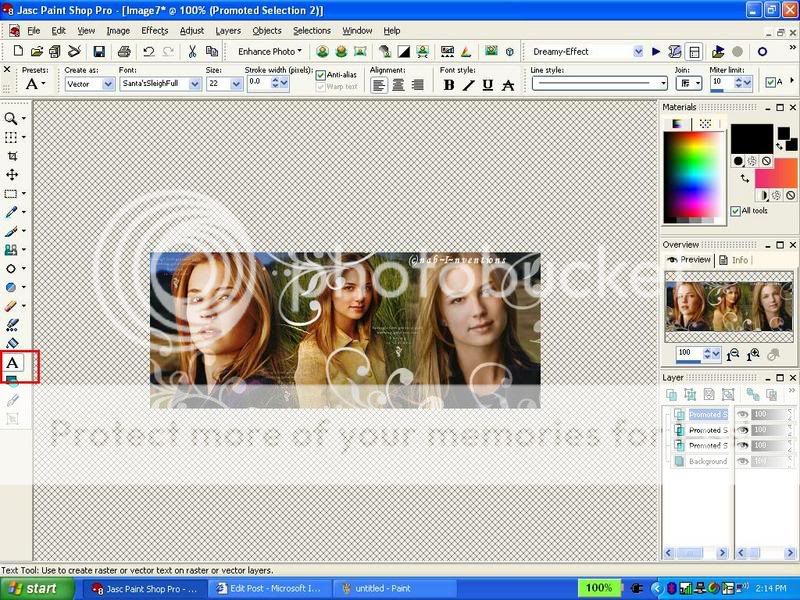
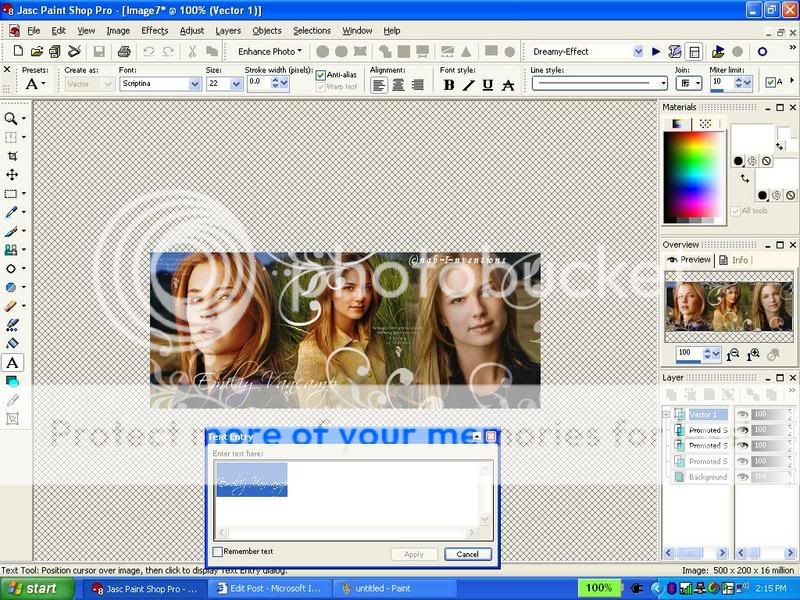
26. Now i will add text: choose your text tool:
27. Type you text..selct the text and choose he text color and font and font size...click apply...you can also move ur text in different places...u can slant it etc...
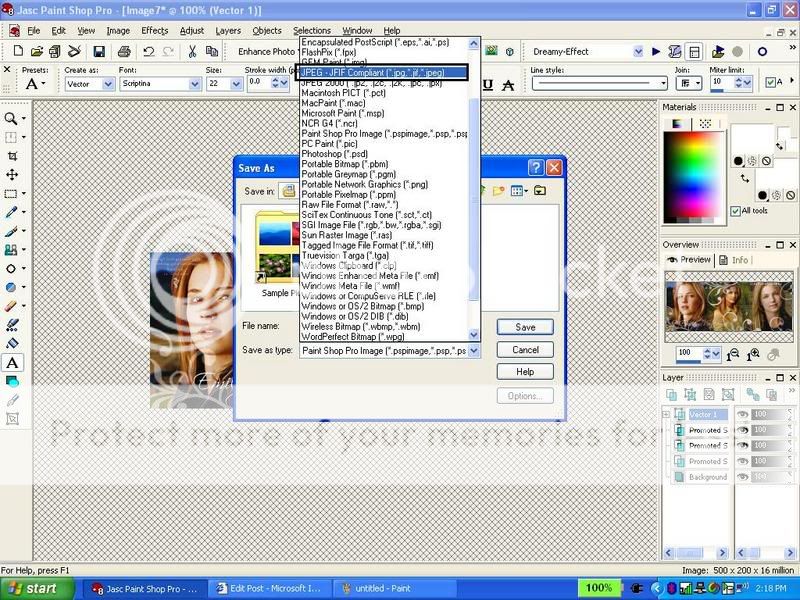
28. press f12 or save as under file and save it: type ur name...but change the file type into a ----.jpg... (there are two jpg choices , choose the one i highlighted....
29. 👏AND YOUR DONE!!! CONGRADULATIONS! YOU HAVE MADE YOUR 1st SIGGY!👏
30. Now upload your siggy and share it with me and everyone here!
Tips:
1. You will definately improve as you make more sigs just like me!😳
2. Brushes are a little bit more for advanced and experienced PSP users...beginers can use it after they are a little more familiarized with PSP
3. Dont care that much about the appearance of the siggy! its the effort that counts!!!!!
4. ALWAYS! ALWAYS! add ur copyright sign either using text tool or brush!
Palette/Toolbar tips:
how to see your layer palette: view>palettes>layers
how to see your toolbar: view>toolbars>tools
how to see overview: view>palettes>overview
Have FUN!
did this help?
p.s. this tutorial is copywrited so please dont claim it as ur own!
~Nabihah...
Hey i made 1 by ur help dis is like my 1st 1. n i donno how is is it and ya i used PSP 7

This is a basic tutorial on how you can record your actions of color effect on your creations and save them in a script file.
You will need to have:
Corel Paint Shop Pro
I am using the 10th Version, which is PSP X. This may or may not work in other Versions.
Let's Start!
1st of all you need to know that this script should recorded in the Scripts-Restricted Folder. You see a script on the toolbars below, just click on it and go to scripts-restricted in the "Category Bar".
Step 1: Open up your PSP.
Step 2: You have to remember all our your steps you are going to take while recording a script. If you are ready to being then open up a random picture, and click on the circle button where I am pointing at to start recording:
If you don't already have a bar like this than, go to View>Toolbars>Script. A box similar to the one above will pop-up.
Step 3: As soon as you have clicked on the recording option, start with the steps you will be taking. NOTE: If you are working on a particular part of picture and bluring it or sharpening it, it will not work in the script. It simply won't work.
Step 4: This is a option step, you don't need to take it if you don't want to. This is in case you forgot something and want to pause or stop your script from recording:
Step 5: After done with your steps, its time to save your script, it's the last button on the toolbar:
Step 6: A box will pop-up and will ask for your information. Fill in what you want to name it and check if you want any other options. If you want to name the copyright of your script by your name then click on Descriptions.
Step 7: When done with everything, then open up another picture and test the script to see if it came out right:
If it works how to want it, then HURAYY!! You're done!
Hope that helped you with doing your effects on a picture, over and over.
Love,
Yams


This is a thread where you all can share everything anything, be it be a Tutorial, PSD, Suggestions, Textures, Animations, etc Try and avoid too...


 Celebrity Fan Clubs
 Anupamaa


850