


Posted:
SamRata Siggy Contest
Siggy-making how-to tutorial
with video demo 😊
Part 1 "1 minute siggies"
Part 2 "5 minutes siggies"
Part 3 inserting images in a 3D frame.
VIDEO DEMOS
PART 1: [YOUTUBE]http://www.youtube.com/watch?v=R71eGEkKHGQ[/YOUTUBE]
PART 2: [YOUTUBE]http://www.youtube.com/watch?v=qpTd8qLJm4c[/YOUTUBE]
PART 3: [YOUTUBE]http://www.youtube.com/watch?v=Za7-GNMpWsI[/YOUTUBE]
Suggestion:
Use the playful version (Part 1) as much as possible.
Use d efficient version (Part 2) to insert text, layer images n fancy shapes
and also to hav more control on contrast, brightness, hue, autofix n color enhancement (vibrancy) n cropping and resizing n rotation.
NOTE: PM me if u hav any suggestions r want to hav any clarifications. (i dont understand hindi..so better to send it in english :D) (till d contest ends)
---------------------------------------------------------------------------------------
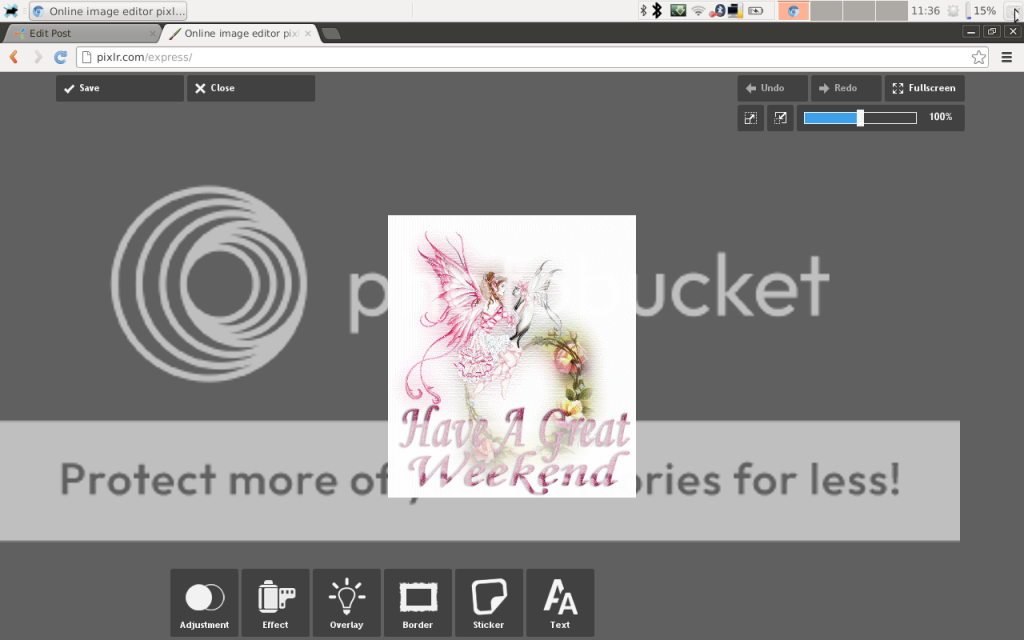
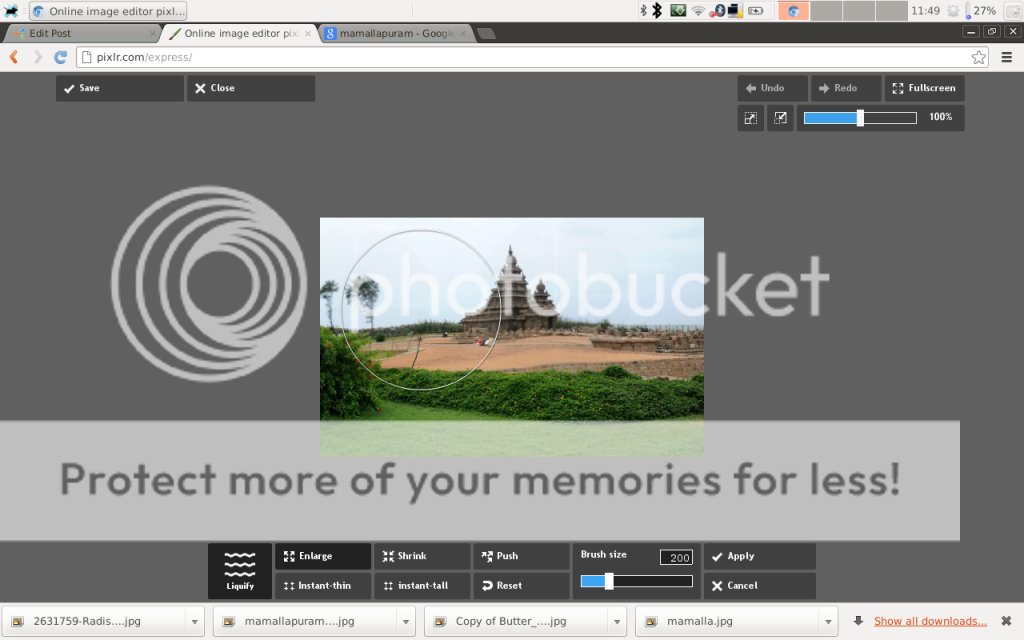
PART 1
VIDEO DEMO
[YOUTUBE]http://www.youtube.com/watch?v=R71eGEkKHGQ[/YOUTUBE]
For very quick effects
Visit pixlr.com
select the playful version.
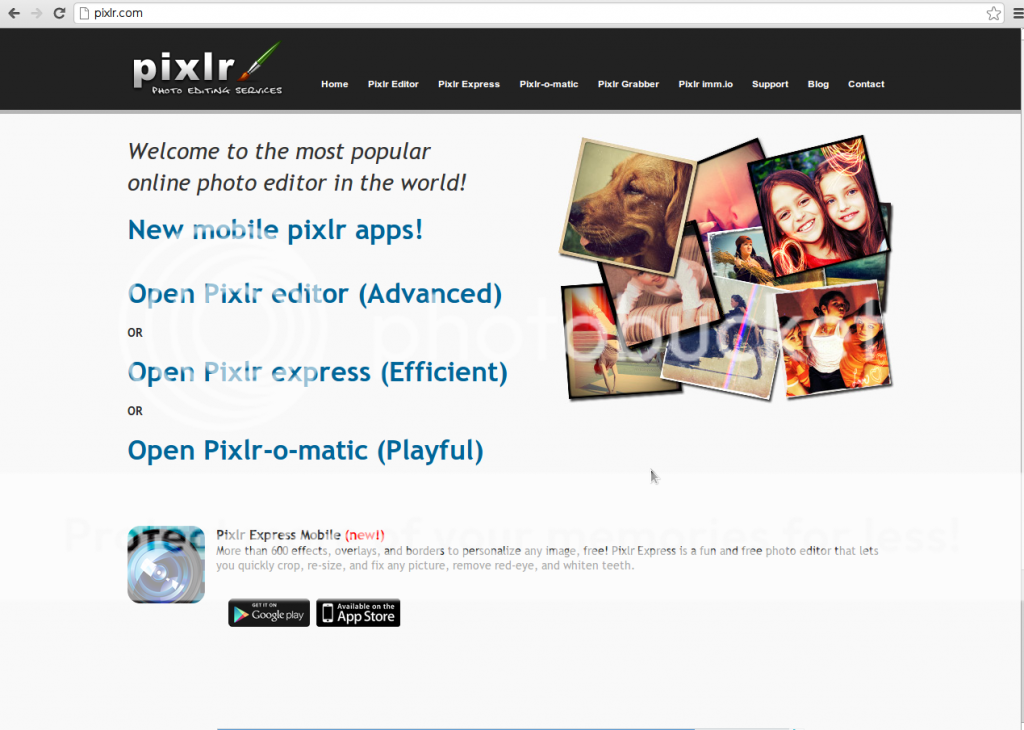
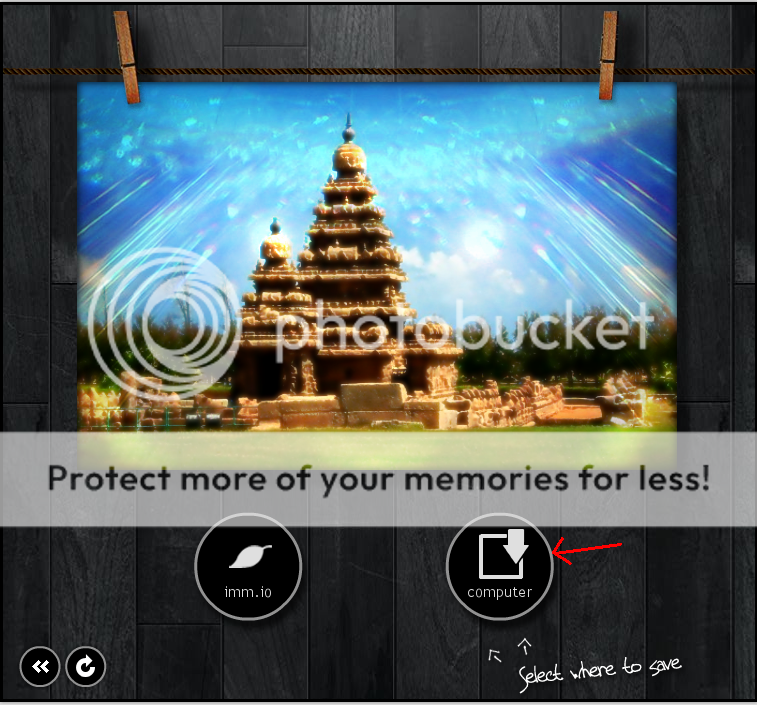
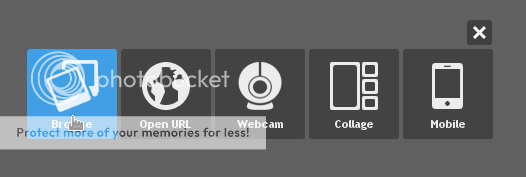
Select 'Computer'. Select the image from ur computer and open it.
Now the main working window opens.
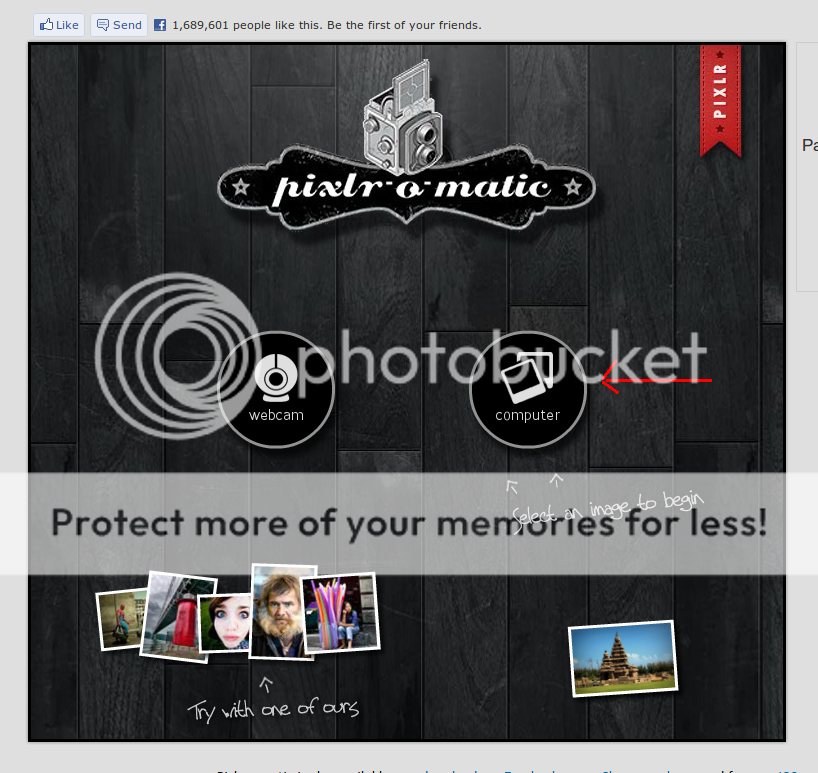
I hav marked each button with numbers in red for easy reference . button numbers r indicated in a bracket with d respective numbers.
Press random effects button (5). Repeat untill u get desired effect. Save d pic.
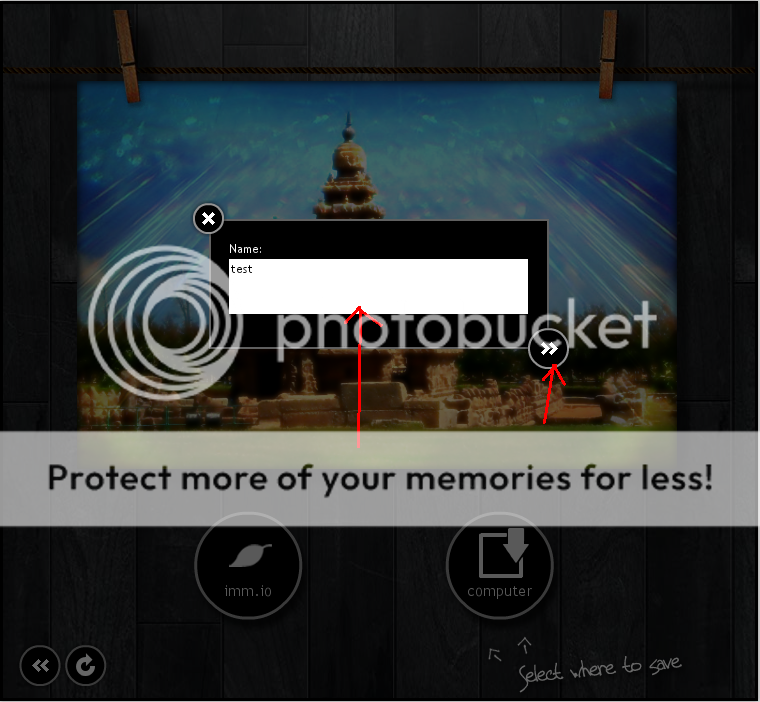
To save, press save button (6) n enter dname of the file u want when prompted for dname. Click forward button. (3rd pic below)
======================
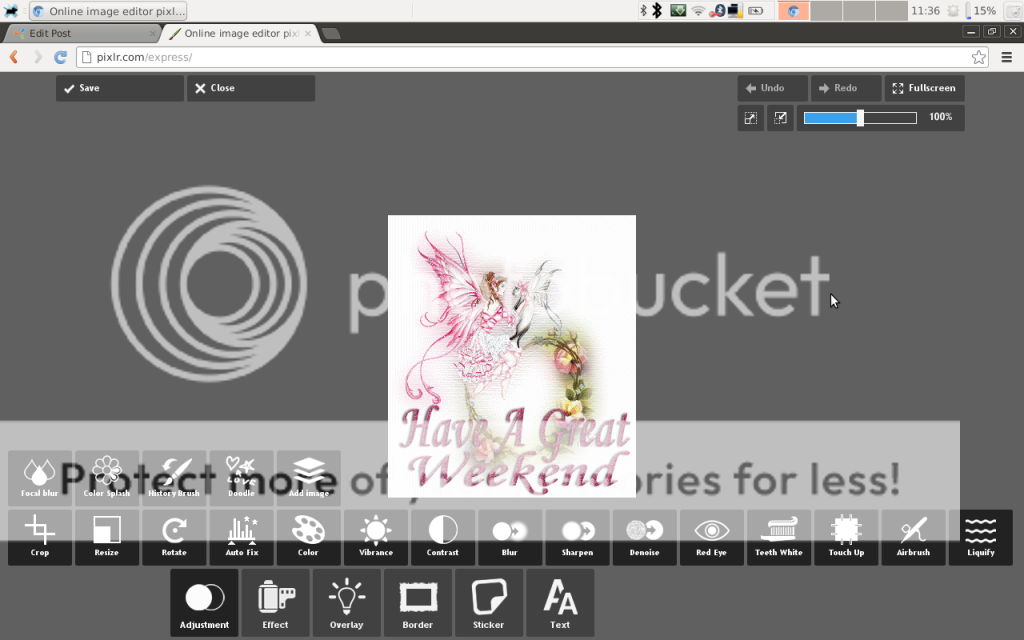
If u want to select effects manually, then read further.
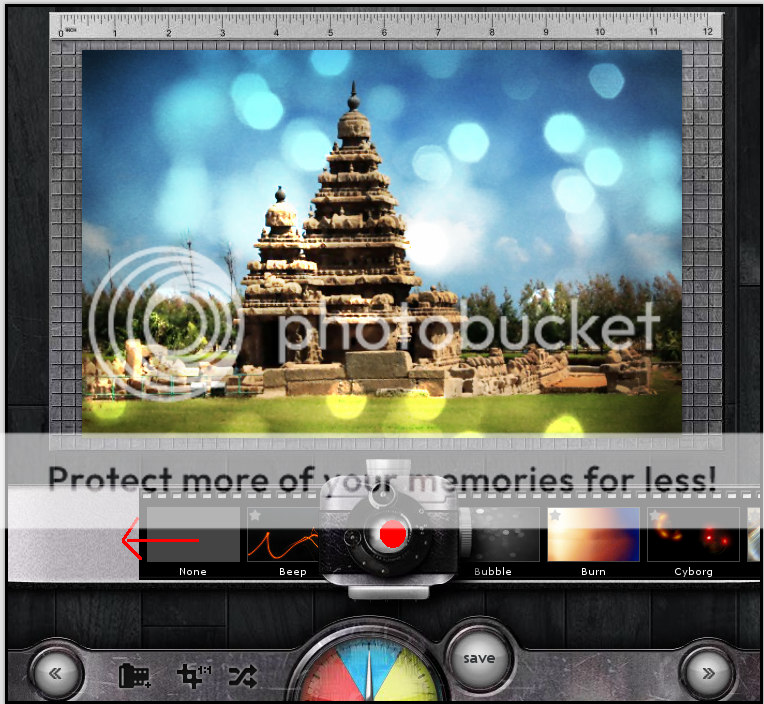
There r three kinds of decorations available..
1. effects
2. overlays
3. borders
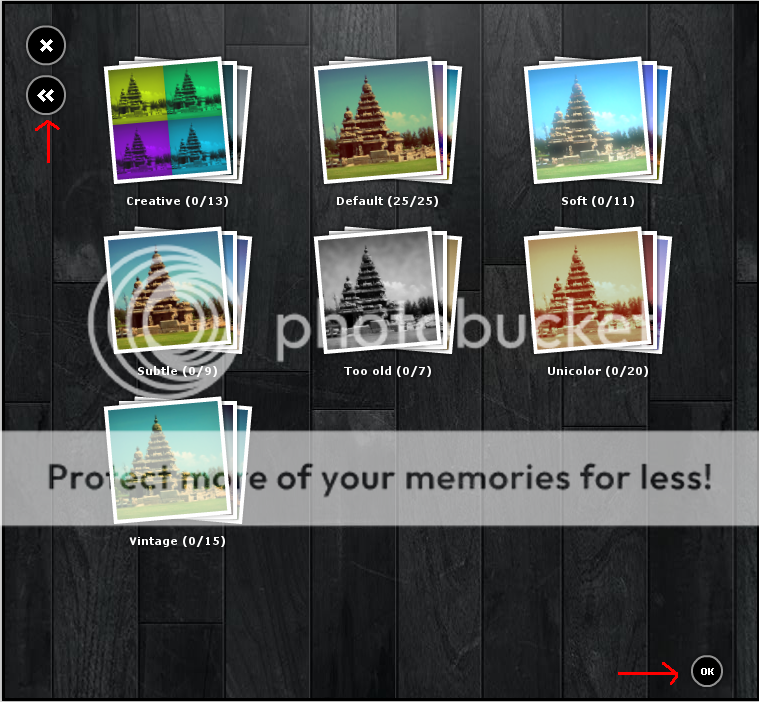
U can swhitch to each of dem by pressing either dyellow, red or blue button ( i have numbered dem as respectively) for effects (2), overlays (3) and borders (4).
U need to drag the selection strip to left or right to select the effect. An effect is selected when it is centered (I hav indicated dcentre with a red dot).
But not all effects, overlays n borders are available in d selection strip. To include more of dem, u need to press the options button (4) n select either effects, overlays or border option.
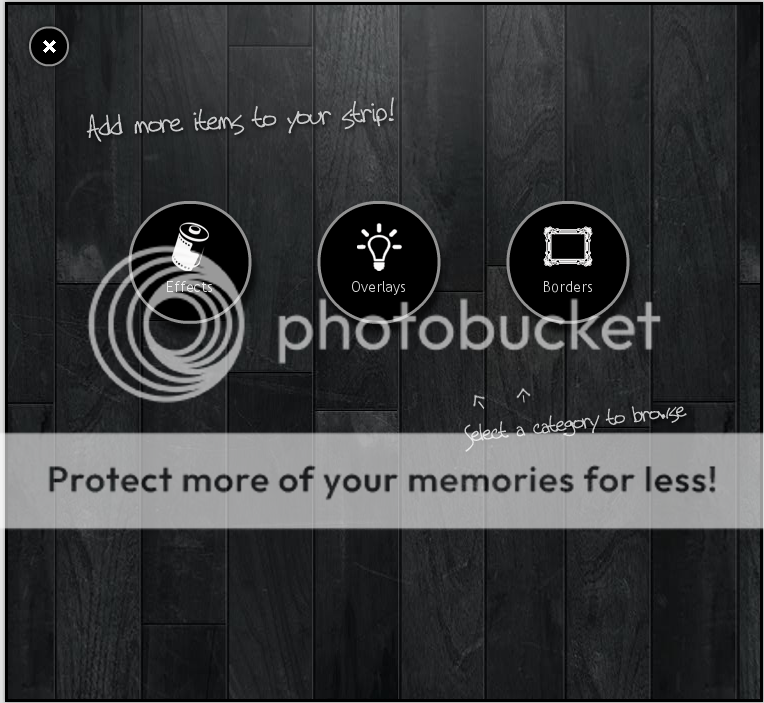
It opens up sub categories in each of dem.
Select d subcategory u want.
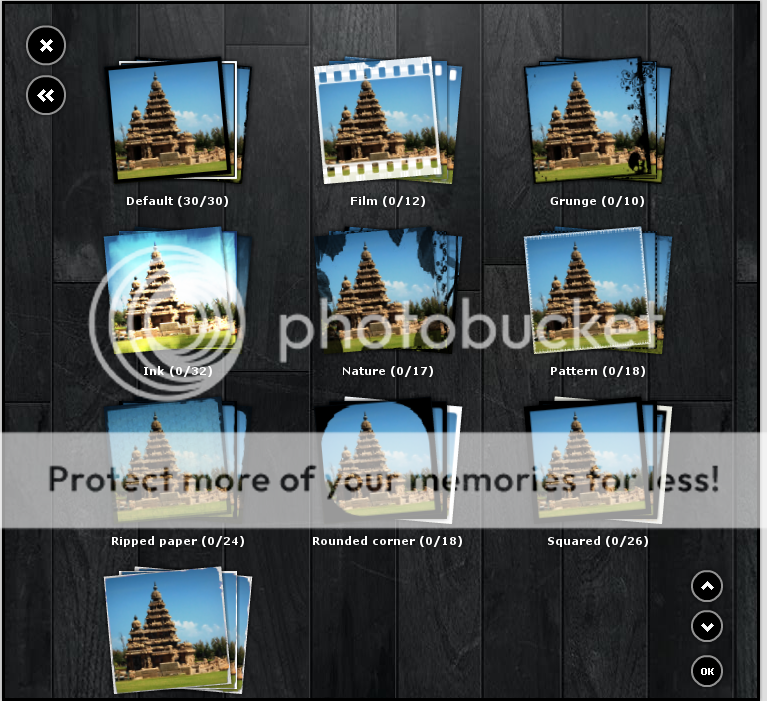
Now individual options r displayed. D ones which r already available in d selection strip r indicated by a film strip icon. U can scroll down or up for more options
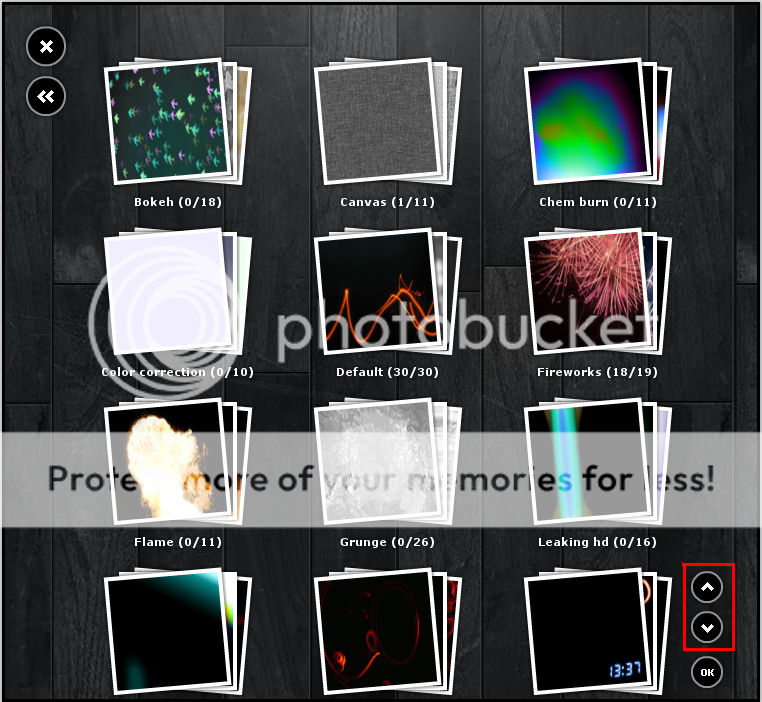
To include d ones which r not already included just click them. After selecting the ones u want, press the OK button to go back to the main window or back button to select more options.
Now u hav more effects in the selection strip.
After finishing applying d desired effects, press d save button to save to ur computer. (6) n enter the name of the file u want when prompted for the name. Click the forward button.
============================================================================
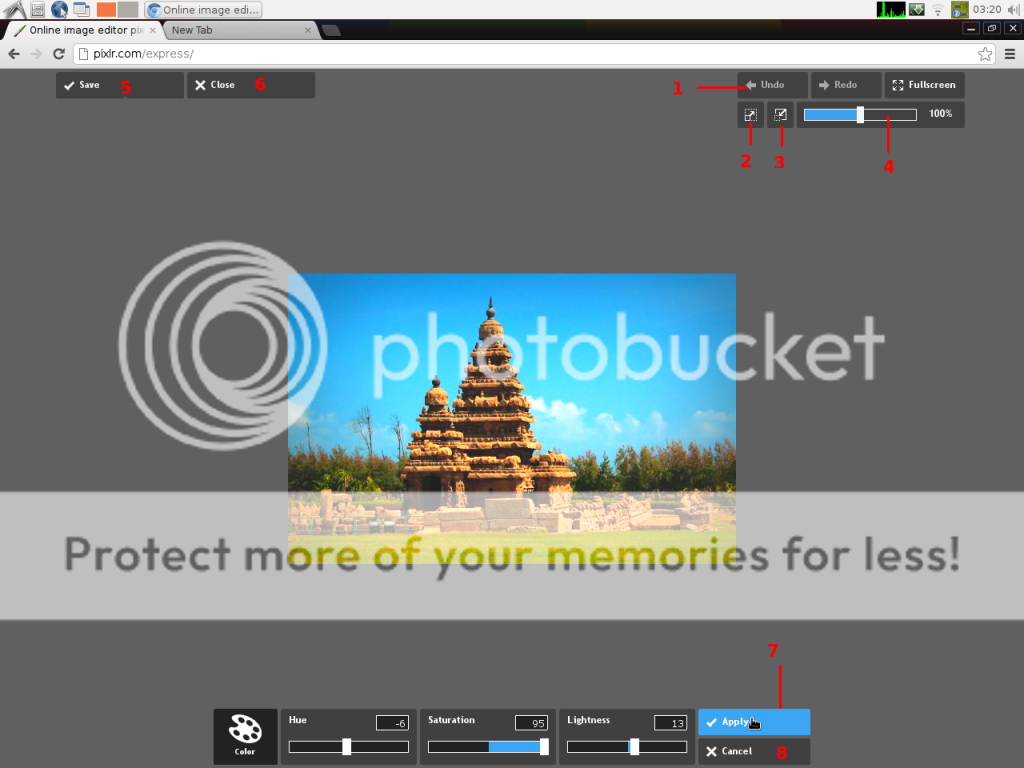
PART 2
VIDEO DEMO
[YOUTUBE]http://www.youtube.com/watch?v=qpTd8qLJm4c[/YOUTUBE]
Visit pixlr.com
select the 'Efficient' version.
Click Browse to select d image in ur computer.
Now select d main category...ie adjustment, effect, overlay, border sticker or text.
Click the adjustment main category, then click the subcategory dat pops-up, which in turn displays the individual effects. Categories n sub-categories work in uniformly d same way for all d main categories here in pixlr.
It wil pop-up its subcategories. Select the one U need. Explore each option to know what it does.
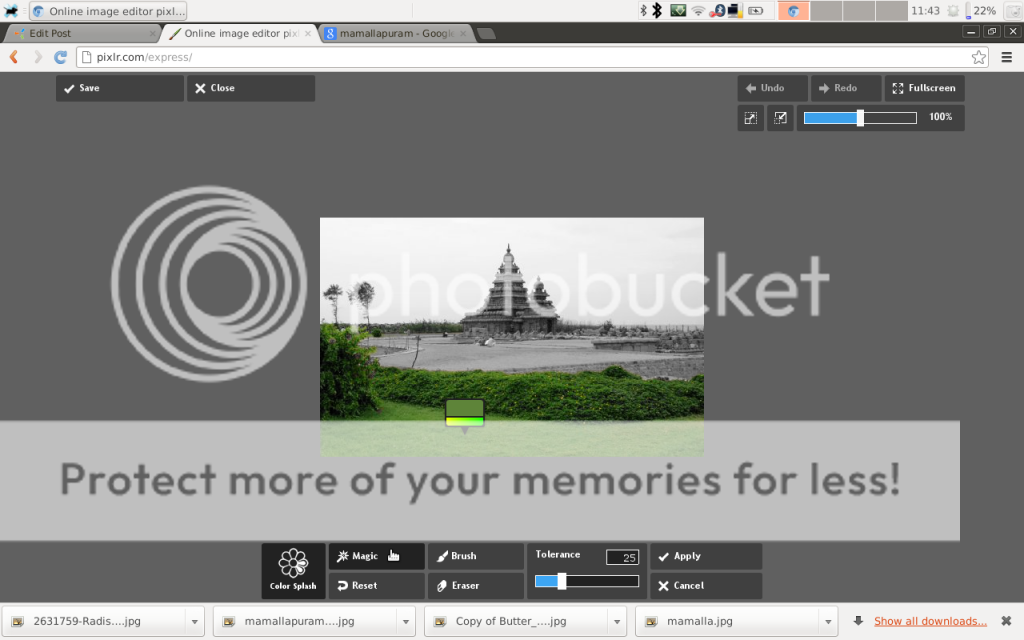
Color splash:
brush option paints d place with the images default colour while the other areas remain greyscale.
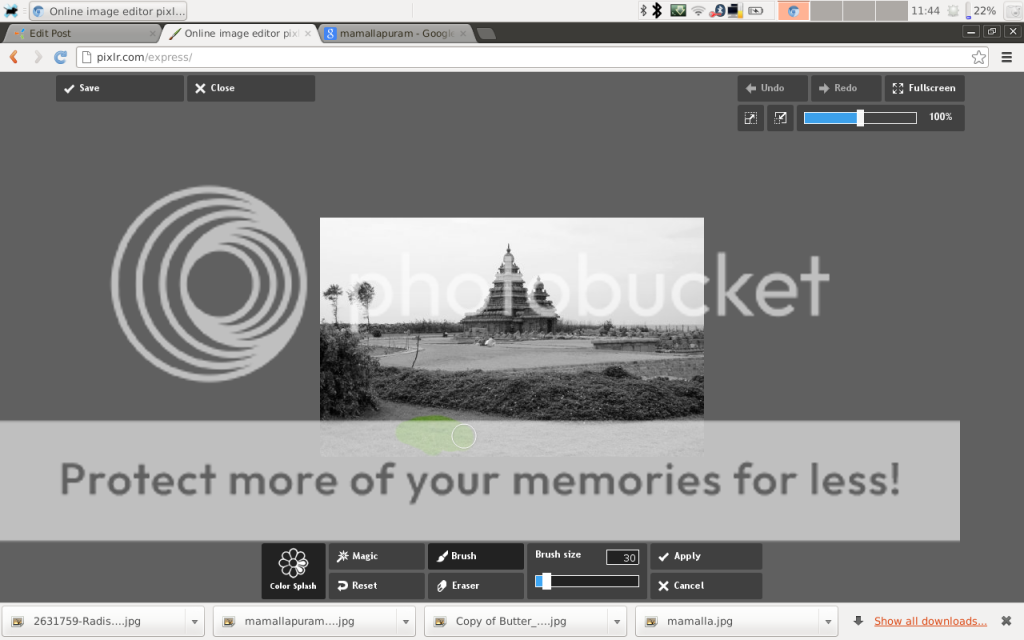
magic option works by clicking specific area, which makes that particular entity border limit to b painted in colour while the rest of the pic remains greyscale. in this pic, clicking on the grass has turned the grass alone to b painted in colour.
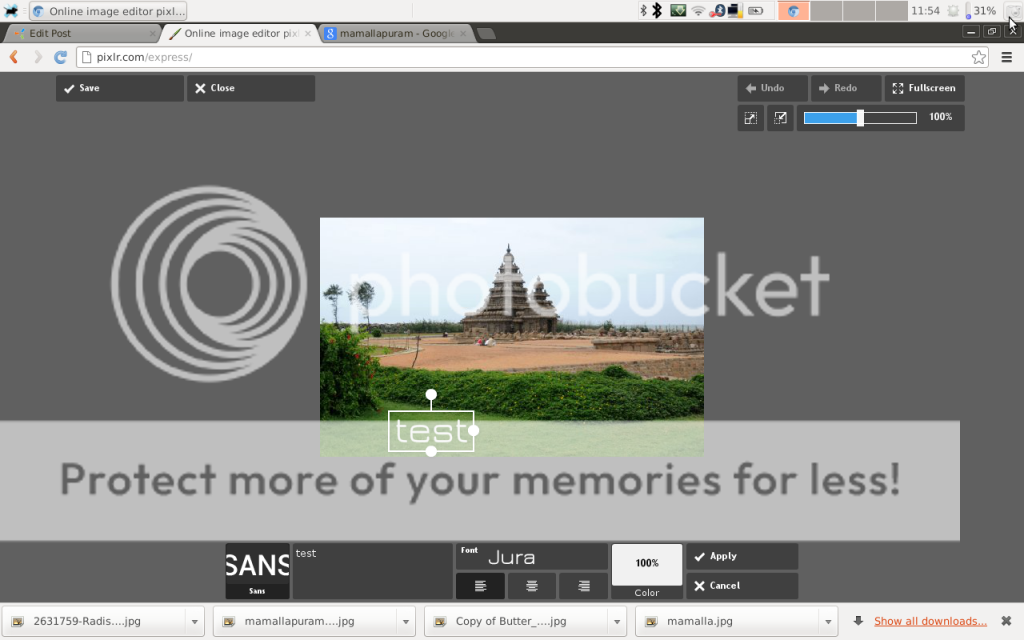
Text option allows u to slect the font type, size n colour of the text input. also, the text can be resized using the 2 white dots which r to the right and bottom of the text selection box. The white dot at the top of the selection box is to rotate the text angle. The text can be repositioned by dragging it using the mouse.
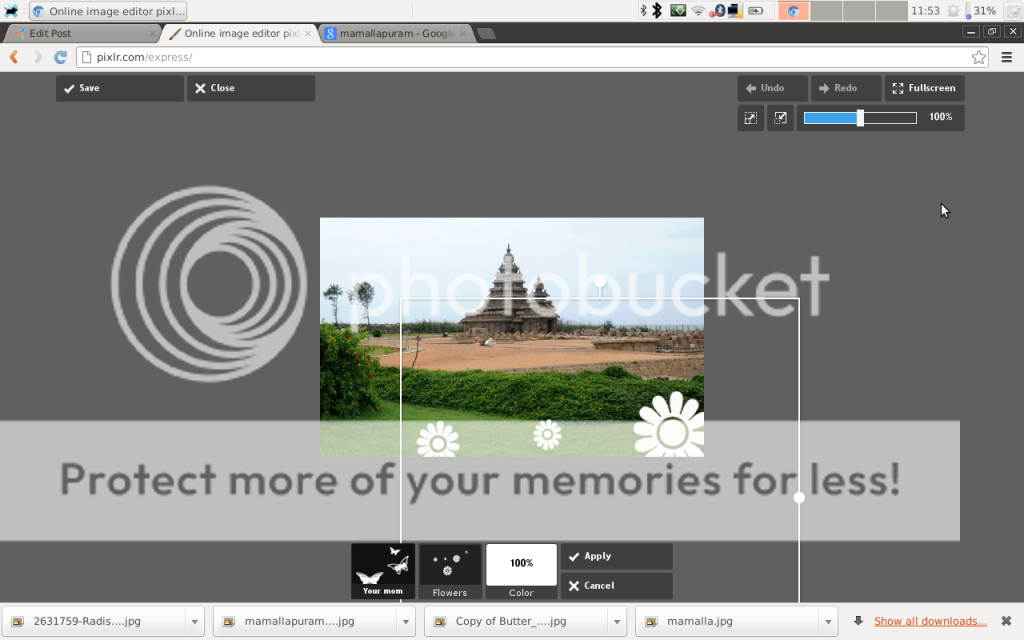
sticker option: the sticker (fancy shapes) can be resized using the 2 white dots which r to the right and bottom of the selection box. The white dot at the top of the selection box is to rotate the angle. The sticker can be repositioned by dragging it using the mouse.
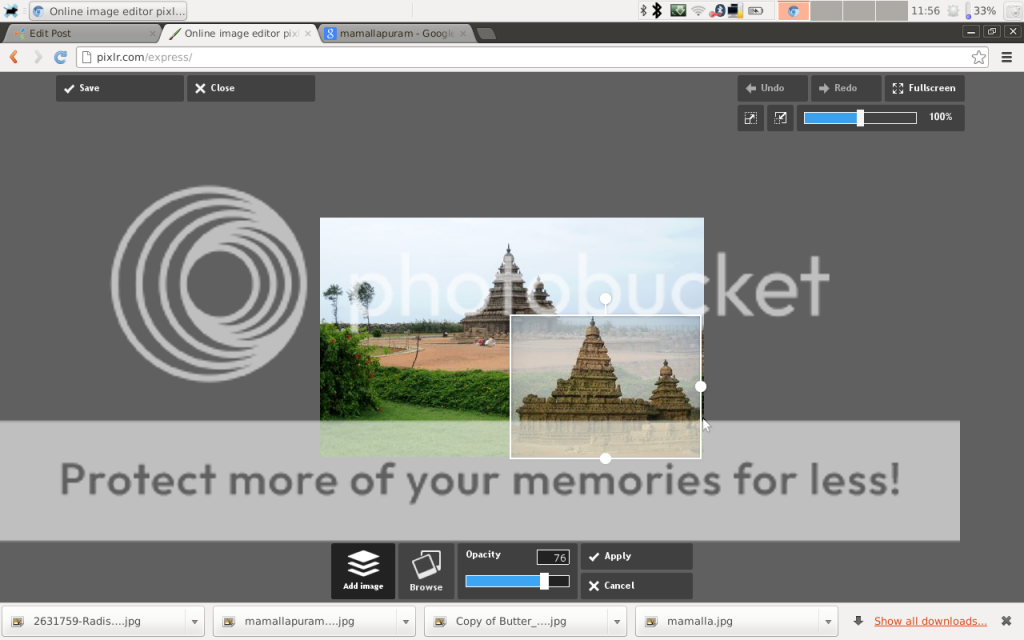
add image option: Click the browse button to select an image from ur computer. the new (Layer) image can be resized using the 2 white dots which r to the right and bottom of the text selection box. The white dot at the top of the selection box is to rotate the image angle. the opacity of the image also can b controlled. any number of such images can b added with their own angle, size n transparency level. The Image can be repositioned by dragging it using the mouse.
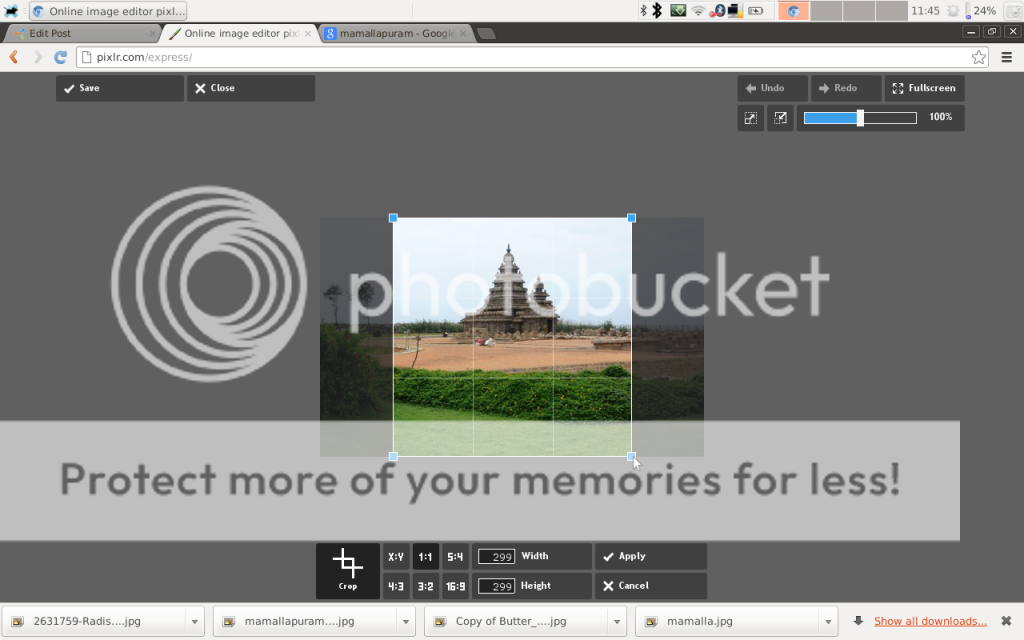
Crop: Lets U to crop the image. u can select a preset ratio or adjust d height n width ratio manually.
Liquify option: the pic can be made wider or taller using the instant thin n tall option.
a part of the pic can be zoomed in or out using the shrink n enlarge option. works like concave n convex mirrors.
applying effects and saving image: Apply the effects using d apply button(7). Save the image after U finish applying all the desired effects by pressing the save button (5).
other buttons on screen: U can zoom the pic in our out using the slider. U can reset the image to its original size by pressing buttons 2 or 3.
to go back to the main category click either apply (7) or cancel (8).
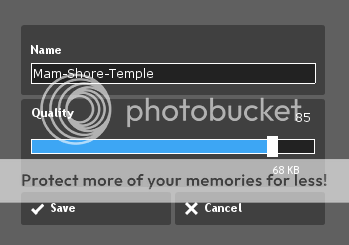
After U click the save button in the editor, the save dialog will come up.
U can rename/rename the file here by typing it in the box and also select the desired quality
======================================
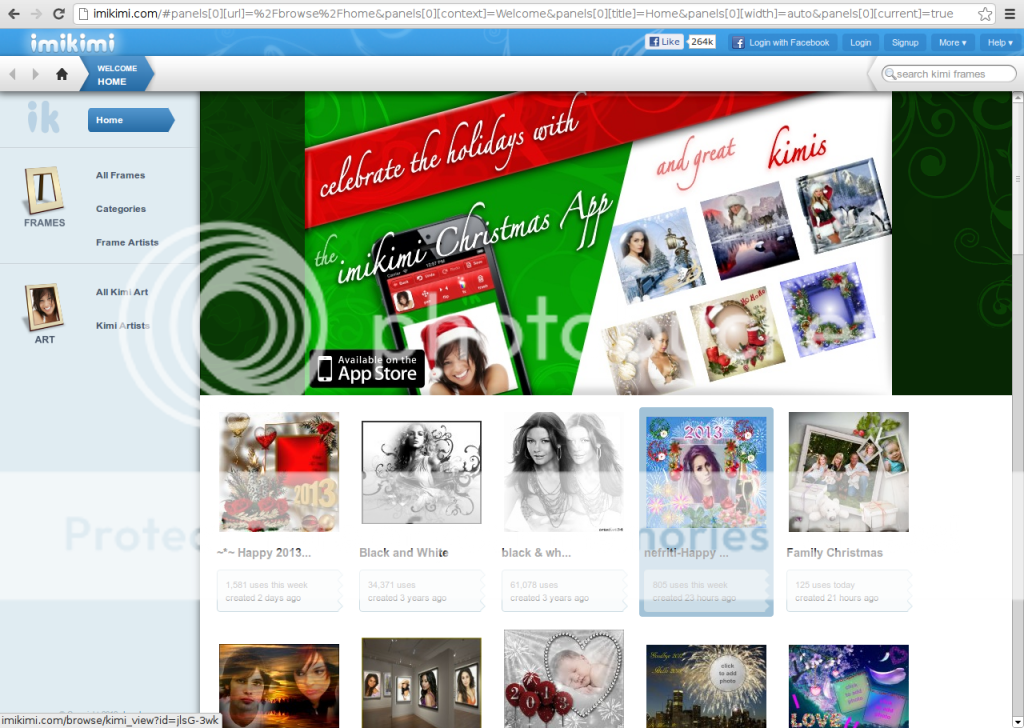
PART 3
VIDEO DEMO
[YOUTUBE]http://www.youtube.com/watch?v=Za7-GNMpWsI[/YOUTUBE]
this tutorial wil teach u how to insert a pic u hav on ur PC to a 3D like frame.
visit this site to put a 3D like frame for ur pics. some frames can hold more dan one photo at diferent angles..
imikimi.com
============
Register with that site to use it. Registering with facebook account also available, but its not working, at least for me.
Confirm ur registration using ur mail account (d one u provided for d purpose of registration)
Open d mail u have received from imikimi.com and click the link they have sent to confirm registration. Now u r ready to work with that site.
Login again with ur email n password if needed.
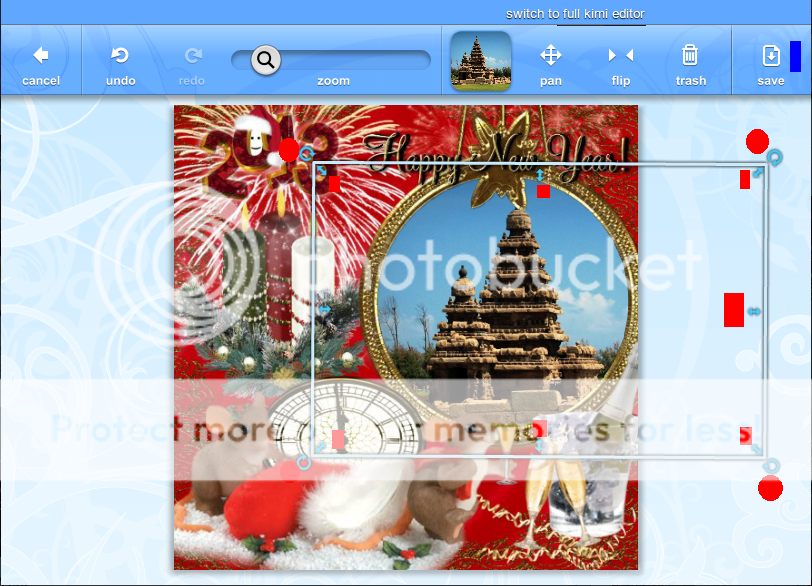
NOTE: I am using a red dot within the pics to make it easier for ur understanding. So pls lookout for d red dot in d pics.
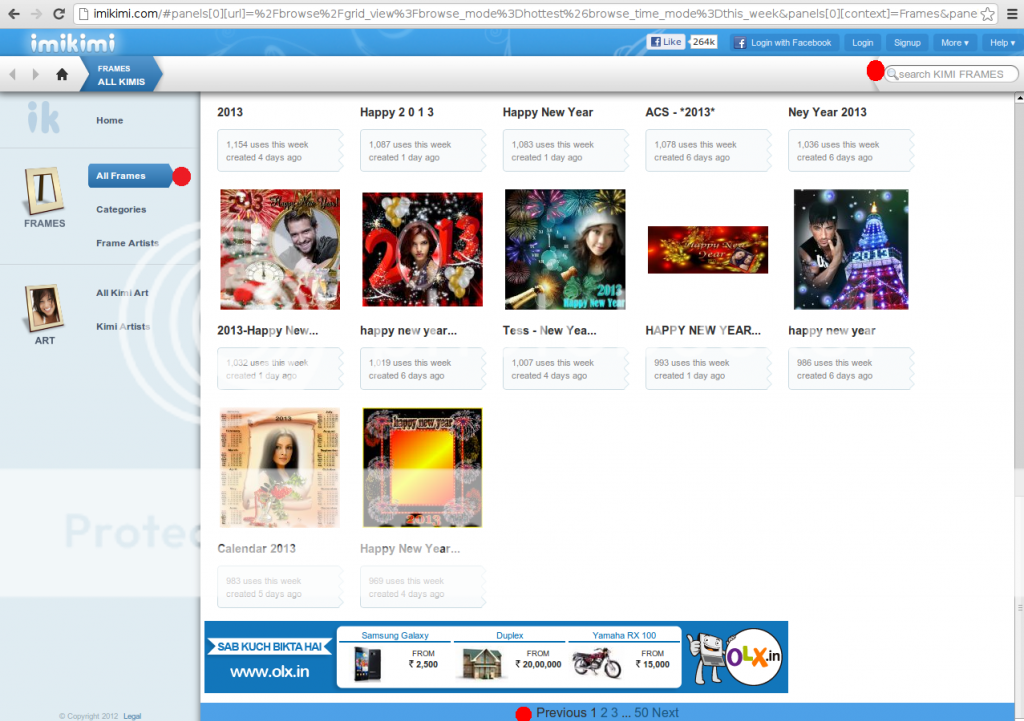
On the left side c the frames button marked in red. Click it.
Select the frame U want by searching using d search box or browse d frames page by page.
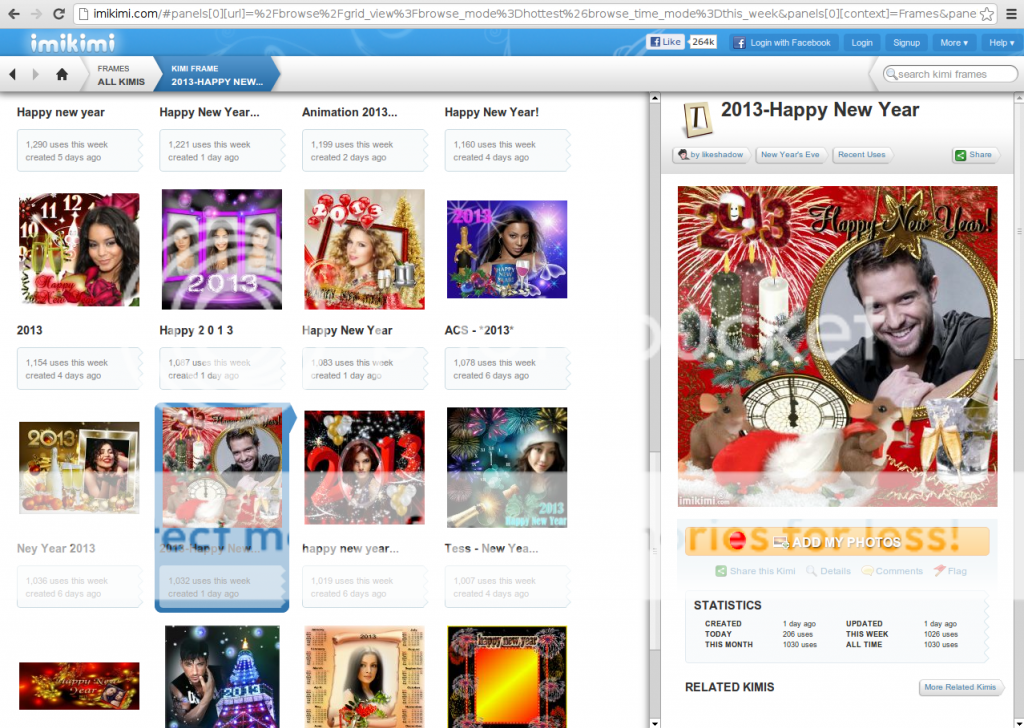
After selecting the frame. it will open in right side panel. Click " add my photo" button (its in orange colour n i have marked it with a red dot).
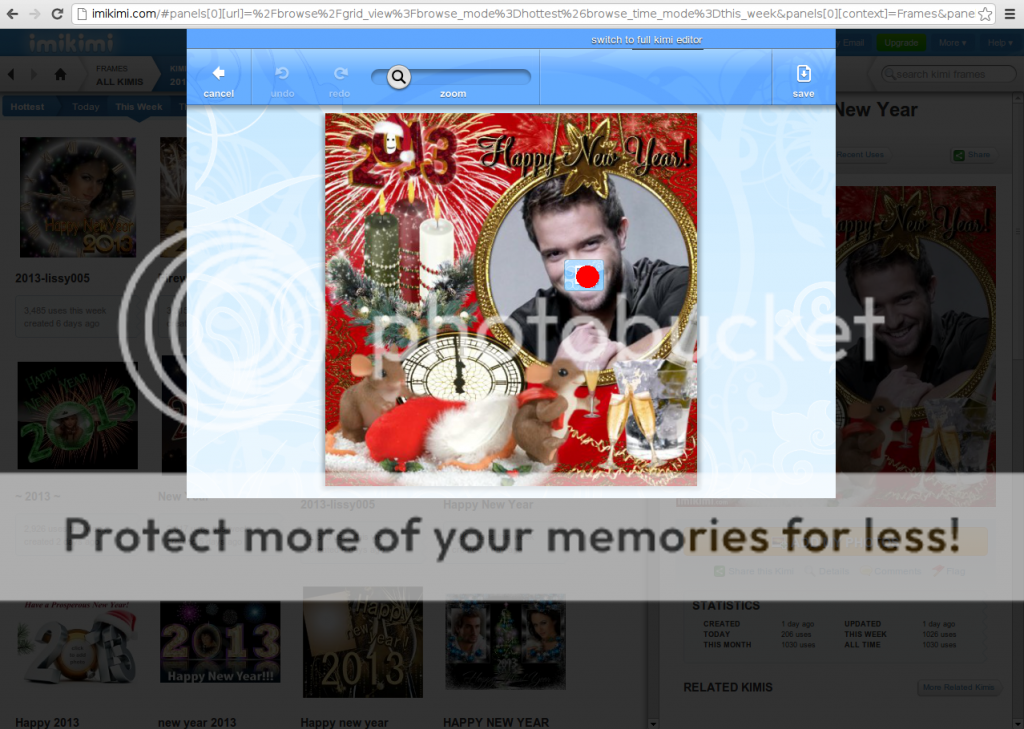
A popup will open using which U can edit the pic.

A frame may hold one or more pic depending on the frame design u hav selected. U can see the plus sign within a blue box indicated in red by me. press that button to select the image u want to insert into the frame.
Now the image u hav selected is in place. U can rotate ur pic or resize it using the blue markers -(i hav indicated in red). U can also drag the pic to reposition it by holding the left mouse button n dragging the pic to the desired position.
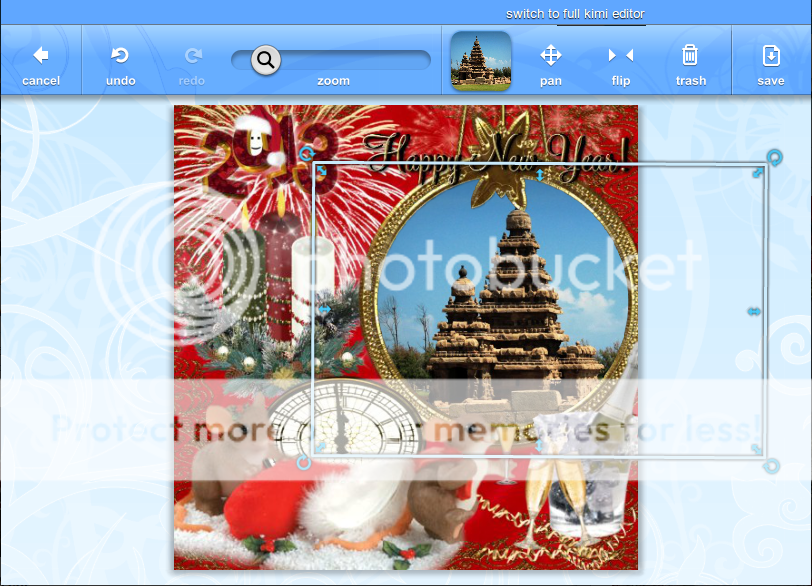
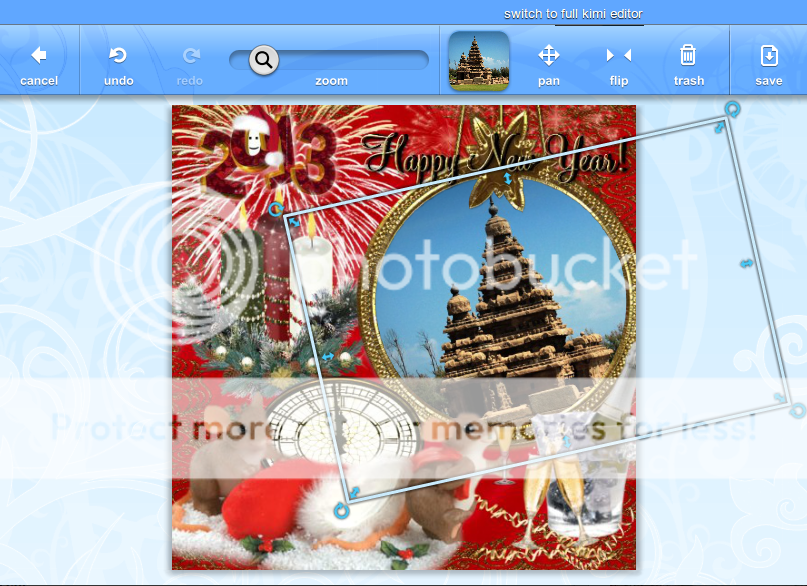
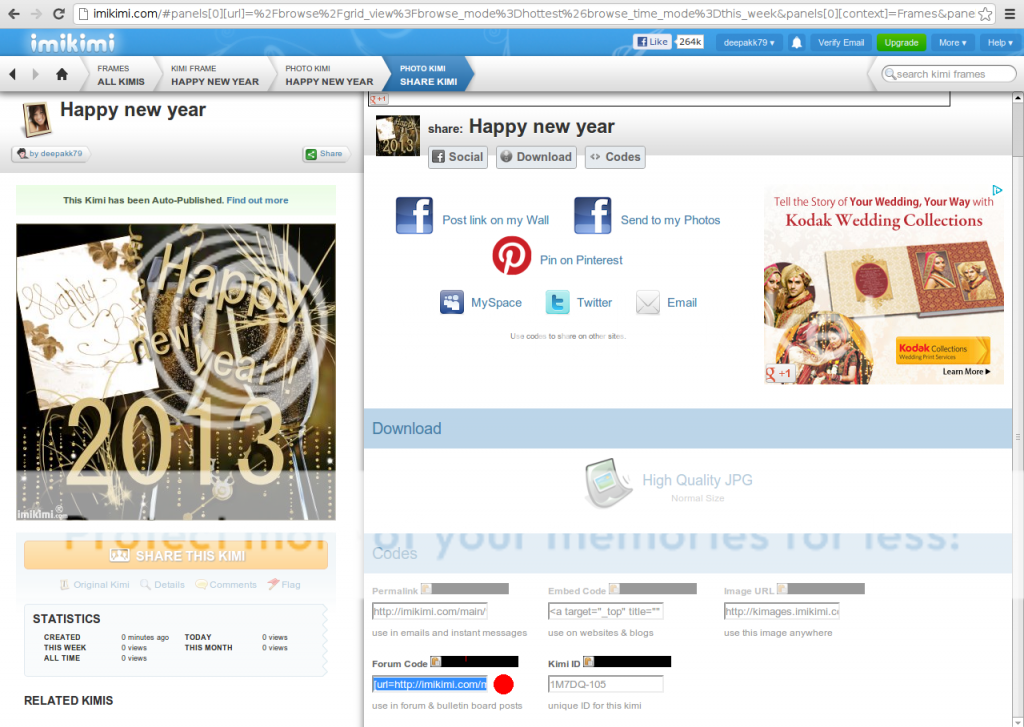
Press save button which is near the top right corner. (indicated with dark blue) in above image.
After pressing save...a page similar to this with link codes wil be displayed.
Click on d box near left side of the red marker. rite click on it using mouse and select copy in order to copy code. paste d code as such. (no need to use image dialog box in the forum).


 Udne Ki Aasha
 Jaane Anjaane Hum Mile
 Fan Fictions

