Post all Tutorials HERE :D - Page 90

Created

Last reply

Replies

921

Views

326k

Users

278

Likes

581

Frequent Posters

Jess. thumbnail
19th Anniversary Thumbnail Sparkler Thumbnail + 4
Posted: 17 years ago

Originally posted by: Nabihah

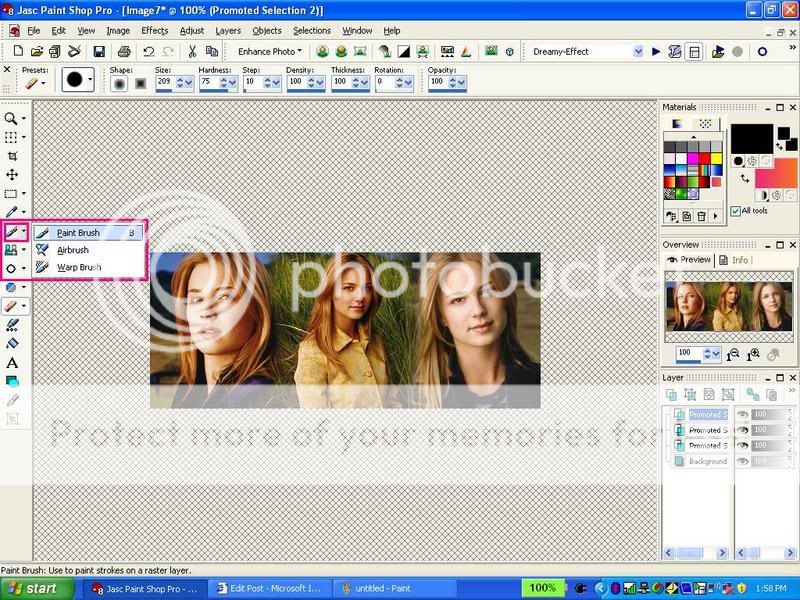
21. I will add some brushes now.

22. Select your brush tool:

23. Choose your brush color from your materials palette (i will choose white)

24. Choose your brushes from here: (i added most of my brushes..if u r a starter u probably have the normal brushes that PSP came with. You can use those.)

25. Add your brushes. where you want..this is what i got using the brushes i added...as i said b4 u can use the strters ones too. (i put a copyrite brush on there i made)

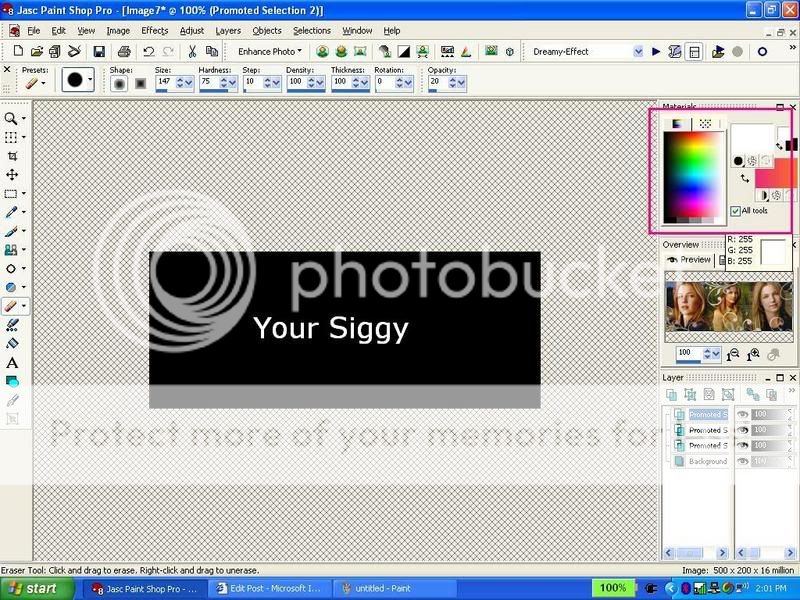
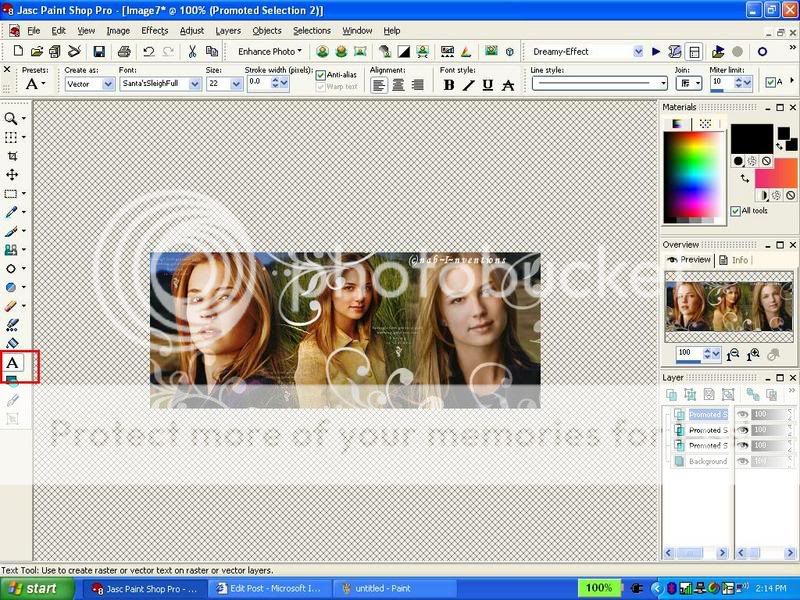
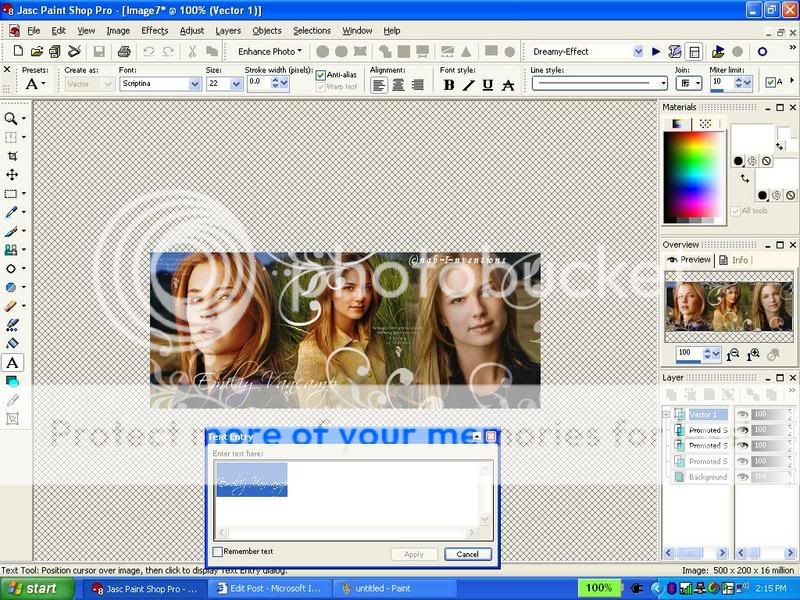
26. Now i will add text: choose your text tool:

27. Type you text..selct the text and choose he text color and font and font size...click apply...you can also move ur text in different places...u can slant it etc...

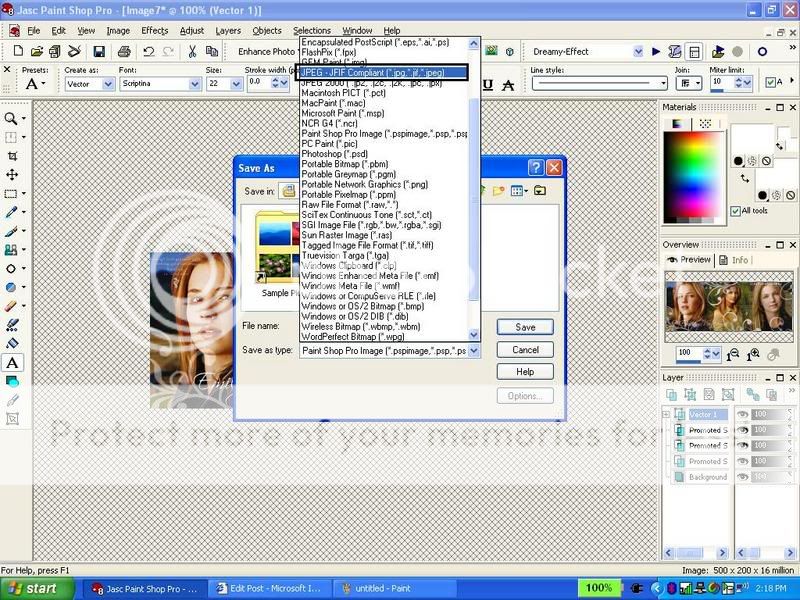
28. press f12 or save as under file and save it: type ur name...but change the file type into a ----.jpg... (there are two jpg choices , choose the one i highlighted....

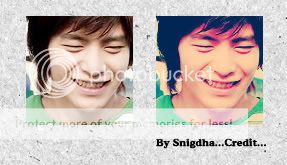
29. 👏AND YOUR DONE!!! CONGRADULATIONS! YOU HAVE MADE YOUR 1st SIGGY!👏

30. Now upload your siggy and share it with me and everyone here!

Tips:

1. You will definately improve as you make more sigs just like me!😳

2. Brushes are a little bit more for advanced and experienced PSP users...beginers can use it after they are a little more familiarized with PSP

3. Dont care that much about the appearance of the siggy! its the effort that counts!!!!!

4. ALWAYS! ALWAYS! add ur copyright sign either using text tool or brush!

Palette/Toolbar tips:

how to see your layer palette: view>palettes>layers

how to see your toolbar: view>toolbars>tools

how to see overview: view>palettes>overview

Have FUN!

did this help?

p.s. this tutorial is copywrited so please dont claim it as ur own!

~Nabihah...

Hey, Thanks for the tutorial! it really helped me😃

btw....i loved the brushes you used, where did you add them from😛? because i cant find the type of brushes i want...=]

diva_chik_nisha thumbnail
Posted: 17 years ago
cud u guyz pzz tel me hw to make brushez out of a .gif pik..n add glitter to ma siggyz??
mex1 thumbnail
19th Anniversary Thumbnail Explorer Thumbnail
Posted: 17 years ago
hey guys if i send my nd mah friends pic ....can u make siggy of dat??? cuz i dynno how to do it myself
//Reena// thumbnail
17th Anniversary Thumbnail Voyager Thumbnail + 2
Posted: 17 years ago

Originally posted by: mex1

hey guys if i send my nd mah friends pic ....can u make siggy of dat??? cuz i dynno how to do it myself

u need to requests in the shops which are opened 😊

-Obsession- thumbnail
19th Anniversary Thumbnail Rocker Thumbnail + 2
Posted: 17 years ago

Originally posted by: Zinu29

Tutorial: How to make the text "non-squishy"
*credit while using, made especially for Asha004*

All comments are highly appreciated, here: http://www.india-forums.com/forum_posts.asp?TID=871135&T PN=97&#17144193

It says the Picture has been removed or deleted.

Tereliyee thumbnail
17th Anniversary Thumbnail Navigator Thumbnail Engager Level 1 Thumbnail
Posted: 17 years ago

Originally posted by: x-Maddz-x

same here

It says the Picture has been removed or deleted.

jassiee. thumbnail
18th Anniversary Thumbnail Rocker Thumbnail + 2
Posted: 17 years ago
Tut I made- Came out not the way I expected. Oh well. 😛 Credit if used in anyway :P

talkativetaurus thumbnail
18th Anniversary Thumbnail Sparkler Thumbnail + 3
Posted: 17 years ago
hello all.
i m posting a tut on making an outline around a person.
the tut is already posted but i think thts a lil difficult one atleast for me so thought to share this one with screen shots.
credits will be appreciated but not required.
just dont claim them as urs cos i made them myself.
thanks.
so moving on to the tutorial.

1. first take a picture u want to put the outline. i ll be using this one.


2. Select the lasso/free hand tool and select the picture precisely like this.


3. Now open a new image bigger than ur selected photo and flood fill it with the colour u like ur outline as. i took a 400X400 pixels new image n flood fill it with black colour.

4. Later copy the image u just selected with the free hand tool.


5. Then paste it as a new selection on the new image u had flood filled with the colour. u ll have marching ants outside the image like this.


6. Now go to Selections > Modify > Expand . U ll get a box open there. Type the number u want the thikness ur outline to be. i ll put 5 and press OK. U may get the message saying tht u need to defloat the image. just press OK. Now the marching ants have gone further i.e they have expanded like this.


7. Last step, just go to edit > paste as new image and Yipee! U have what u want!

My Result: (not so good)


if anyone has doubts can ask me .
thnx for reading 😊


.Roshni. thumbnail
19th Anniversary Thumbnail Voyager Thumbnail
Posted: 17 years ago
^
thanks u so much that helped me in 2 ways
BengaliChica92 thumbnail
19th Anniversary Thumbnail Sparkler Thumbnail + 2
Posted: 17 years ago
Great tut everyone
Requested by Rima...Feel free to use...Credit too...


Related Topics

Avatar and Signatures Shop Thumbnail

Posted by: ExoticDisaster

1 years ago

Shiri'z Tutorials *Rain Effect* Page 7

Hello Lovely People! I am here with my first tutorial channel. I have decided to post photoshop tutorials on this thread . Whenever you would...

Expand ▼
Top

Stay Connected with IndiaForums!

Be the first to know about the latest news, updates, and exclusive content.

Add to Home Screen!

Install this web app on your iPhone for the best experience. It's easy, just tap and then "Add to Home Screen".