Tutorials

SACCHA PYAAR 9.12 DT pg 18

🏏South Africa tour of India 2025: India vs SA - 1st T20I🏏

Paresh Rawal blasts Anupama Chopra over Dharundar Review.

🎉Happy 22nd Birthday India Forums🎊🎈Born of Stardust, Grown by Us🌟

Honest Opinion on the Finalist Rankings
negative reviews being pulled down 😭
Jatinder from PV calls out Harminder from BoI for bias against Ranveer
BHAI & FAMILY 10.12
Deepika in Mahavatar

Kavach Mahashivratri FF ~ Chapter 3 on pg 2
Aditya Dhar and Yami paid to troll
Shah Rukh Khan new video launching Danube property

I was trying to make something else but pressed the wrong button and ended up with this. 😆

Someone asked me to repost this tutorial. so here you go 😃
TUT FOR TEXTS
Option Gradient Overlay
Step 1: open a new document in PS without background
(you can also open a normal document and then hide the background layer later)
Step 2: Write any text with any color
Just like in the picture
Step 3: now with the text layer selected, open the blending options
To open the blending options click on the little button on the bottom bar (fx) this is the icon
Or right click on the layer and normally it is the first option.
Step 4:
4.1: click on the drop shadow option, which is at the last option on your left. If you want you can play with it, but in this case I took the default settings, which goes well most of the time.
4.2: click on the Outer Glow option which is the second-last one.
Blend mode: Screen
Opacity: 100%
Noise: 0
Select any color for the out glow I'm going for the default one
Technique: softer (if you want you can change it)
Spread: 0%
Size: 5 px (but you can change it accordingly to your likes)
Contourn: I went for the "half round" but even Linear is Okay
Range: 50%
Jitter: 0%
4.3: click on the Gradient Overlay option always from the list from your left, it is fourth from last option.
Blend Mode: Normal
you can try even overlay, but to use it you have to know that it changes accordingly to the color of your text, so I suggest you to use Overlay mode only if your text is not Black, because with the black one you don't get good shades, when with other colors, you get pretty shades.
Opacity: 100%
Gradient: I selected a dark pink/purple one
Reverse: Unticked
Style: LINEAR
Align with Layer box ticked
Angle: 0
Sclae 100%
See the image for more details

This is want you will get:

Step 5: duplicate for 2 times your text layer, now you have in total 3 layers in the following order.
The Top One: Original Copy 2
The middle layer: Original Copy
The button one: Original
Just like I have in the picture:
Step 6: now select the middle one layer and JUST CHANGE the settings of the GRADIENT OVERLAY option
All will remain the same except for the Style which you have to change from Linear to Radial
See the picture

This is what you will have

Step 7: click on the top one layer and go to the blending options. Here too you have to make just one change in the Gradient Overlay option. Here you have to Tick the box near the word REVERSE.
Check the picture

This is what you will have

ANIMATION INSTRUCTIONS
1) Go to the timeline box, you already have one frame there
2) Select a time accordingly to your taste, I put 0,2 sec.
3) Duplicate the frame for 2 times, by clicking on the button on the timeline back, the one near to the dustbin icon.
4) In frame one, only the first/bottom layer should be visible, hide the other one by clicking on the little eyes near the layers.
5) Click on Frame Two and hide layer one and layer three, just the layer in the middle should be visible.
6) Click on the Frame Three and hide layer one and two, only the third one should be visible, the top one.
SEE THE PICTURES


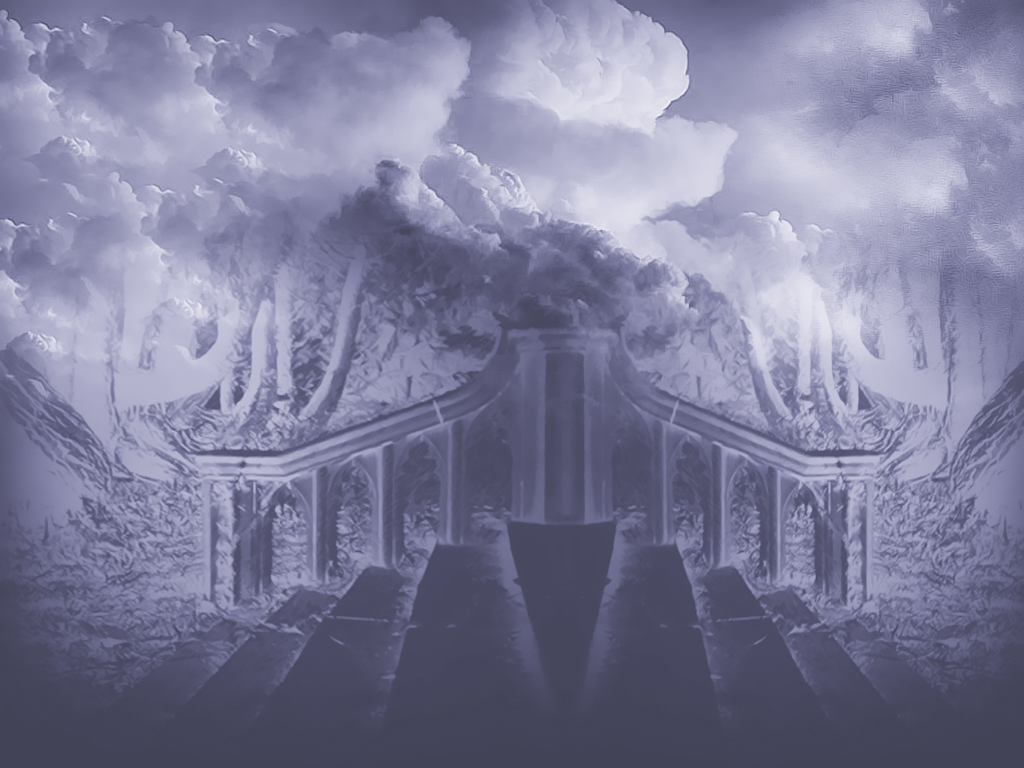
THE RESULT


Welcome to A/S CC #2! A place to discuss graphics making, life, muse (or the lack of it) and any random topic. Also anyone can request a critic...
Hey friends Welcome to Questions Queries Corner Please post all your questions queries here instead of making new topics. If any "help" topics...
This thread is "Creations Exhibition #5 " where you can show off your latest work. And it is for everyone including members who have a...
Hello all and welcome to Saher Mrina's shop! This is our first collab creation gallery since both of us are now busy but still want to be...
Are you new to Avatar and Signature Shop Forum? Then this is the right place to know about this forum and it's activities. Next few posts will


 Book Talk
 Kyunki Saas Bhi Kabhi Bahu Thi 2


71