


How T
im a beginner and i need alot of help...especially with #24/25 how did she get the brushes?and there r none tht come with my psp!and how did she put the design on?did she draw it/or was it because of the brush?
and if i want to put a texture,where do i get textures from?and how do i apply them?god bless whoever helps me!im desperate!😭
Make A Simple Siggy Tutorial (using PSP 8)"
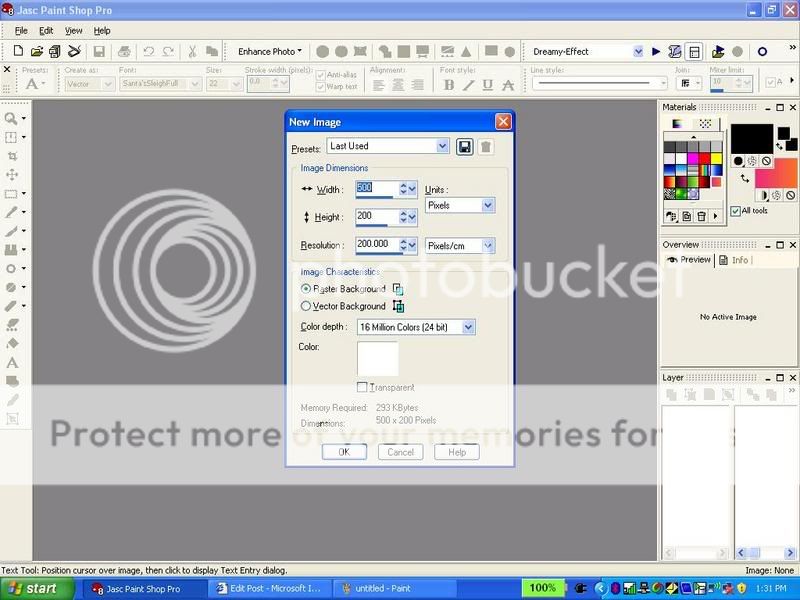
1. Open a new image (ctrl+n) about (w)500x(h)200. Click ok
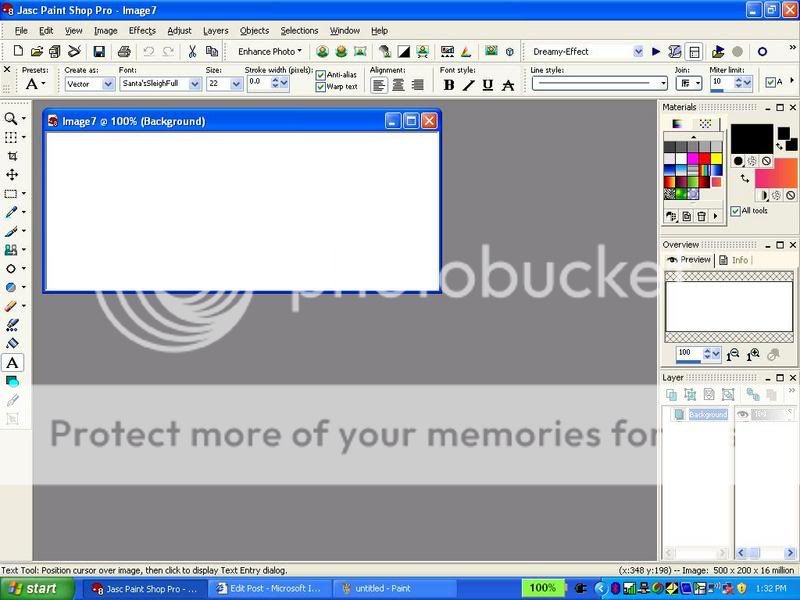
2. You should see something like this:
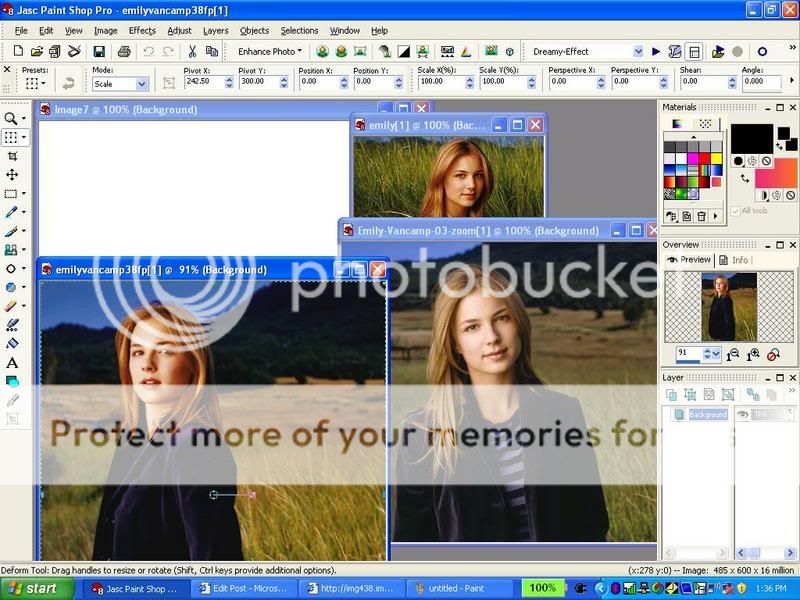
3. Choose about 2-3 pictures you want in your siggy. I will choose these for the tutorial:

4. Drag the pictures into PSP 8.
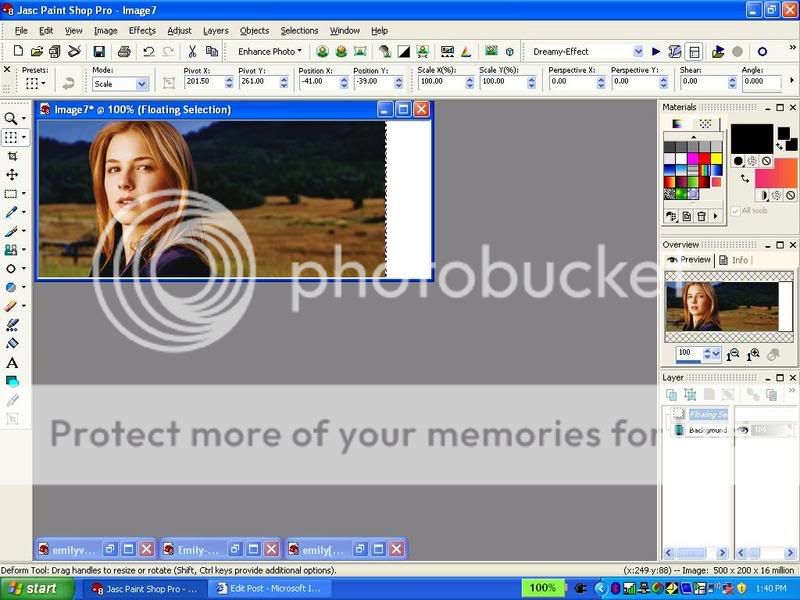
5. Click on the blue bar of the 1st picture (to get that picture)
6. ctrl+a (selct all) and ctrl+c (copy) that 1st picture
7. Go to your blank new image and click on the blue bar of that blank image
8. ctrl+e (paste - doNOTdo: ctrl+v)
9. That image shud appear onto your blank siggy:
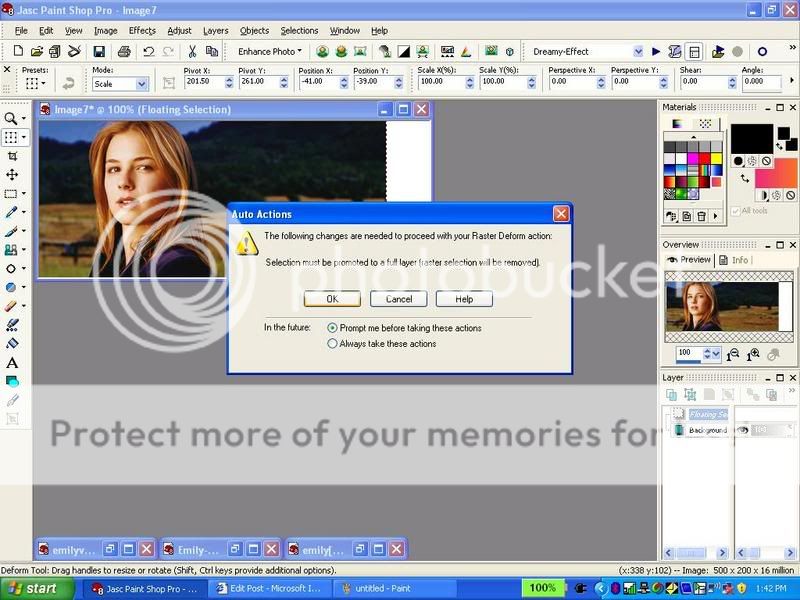
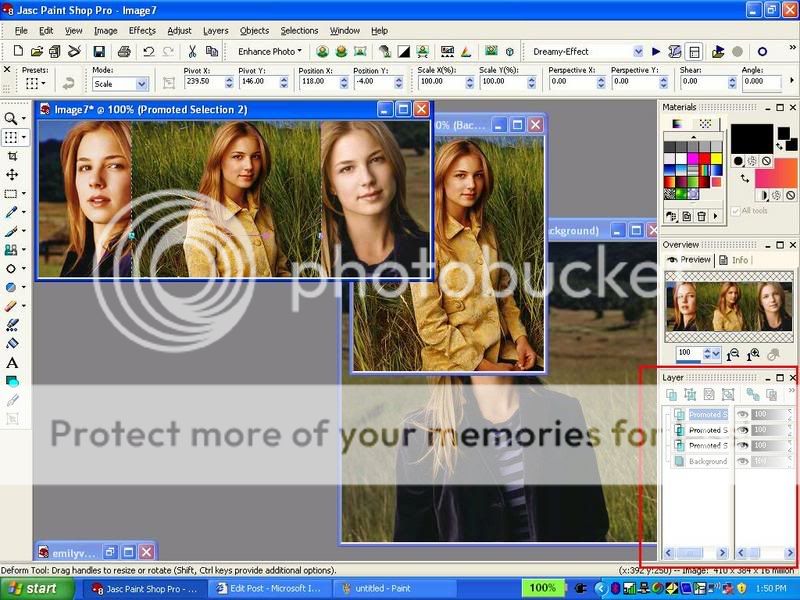
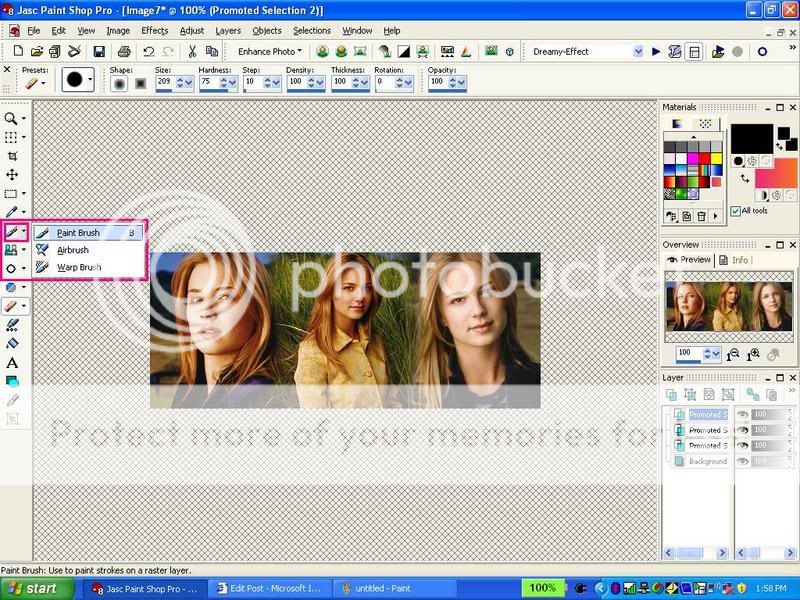
10. click on the deform tool:
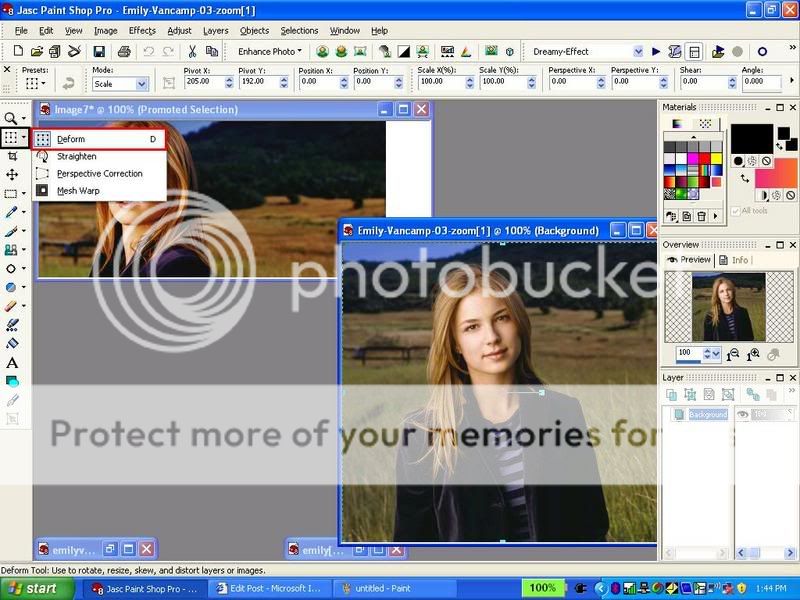
11. Click on that picture and a message like this shud come up. Click ok. this will make a Promoted layer for you. This is very important. Check you layers palette to see if you have now two layers: Backround and Promoted Layer.
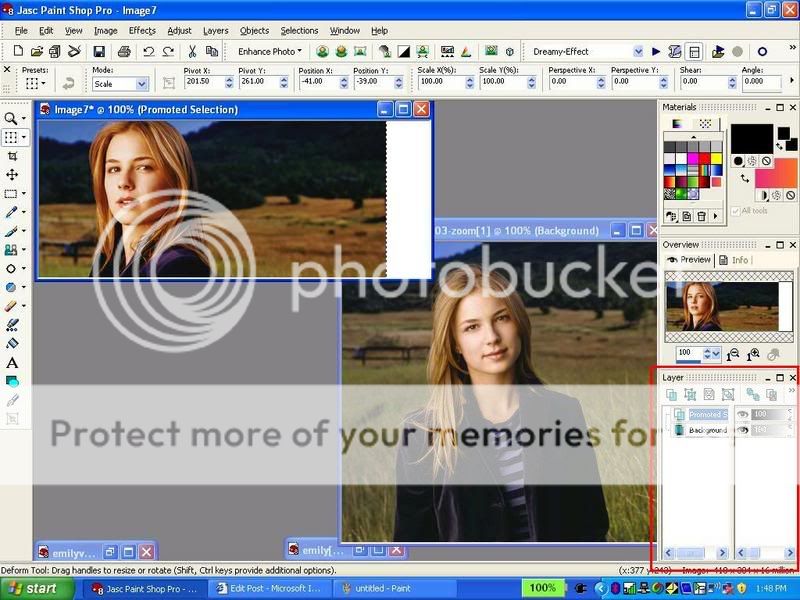
12. You can change the place and size of your 1st pic w/ the deform tool...do this if you want before you go onto the second pic.
13. Ok, now go to your second picture: repeat the same things that you did with your 1st picture. (add the pic to ur siggy basically the way u did with your 1st pic)
14. Now you should have 3 layers in your layer palette of your siggy
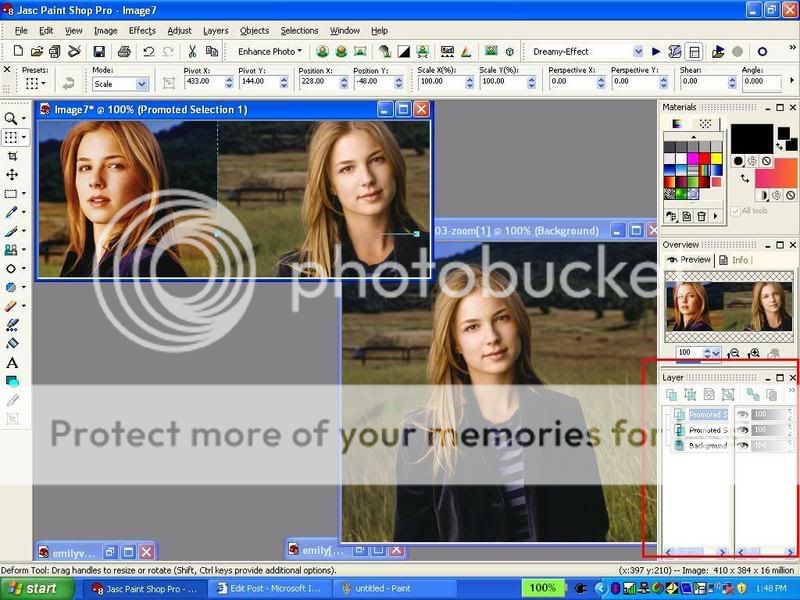
15. Now Add your 3rd pic the way u did with ur 1st and second pic
16. Now you should have 4 layers in your layer palette.
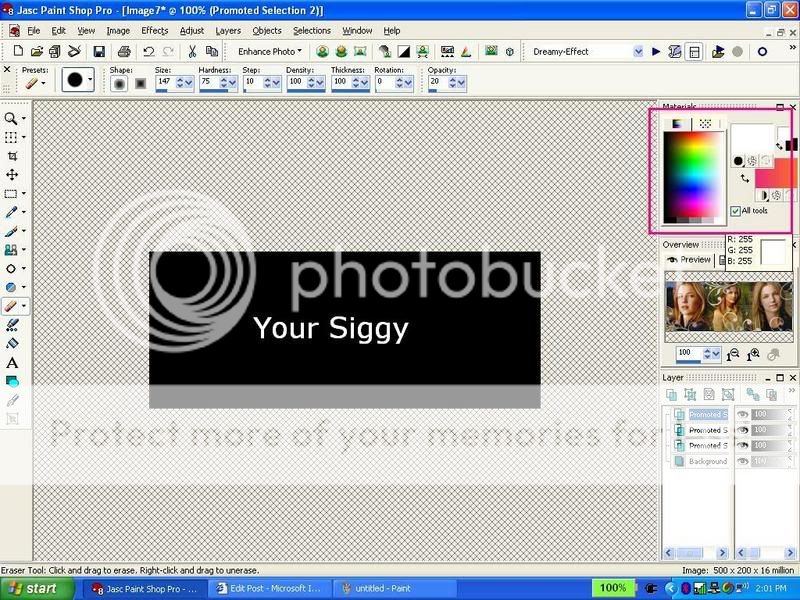
17. Now your siggy looks kinda unblended right? well i have a little secret i use to blend...i use the eraser tool: So selct this tool. Make the settings like mine (second pic) (but ofcourse you can adjust the settings urself to fit ur preference)
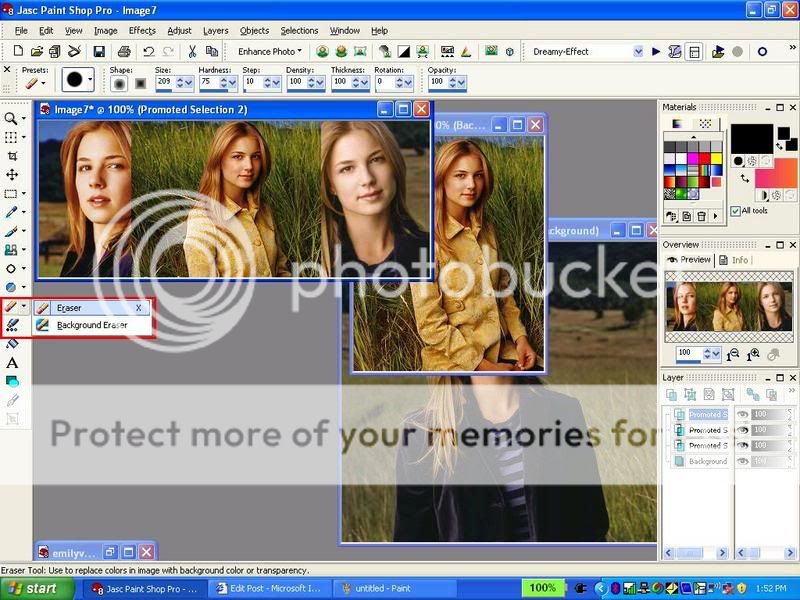
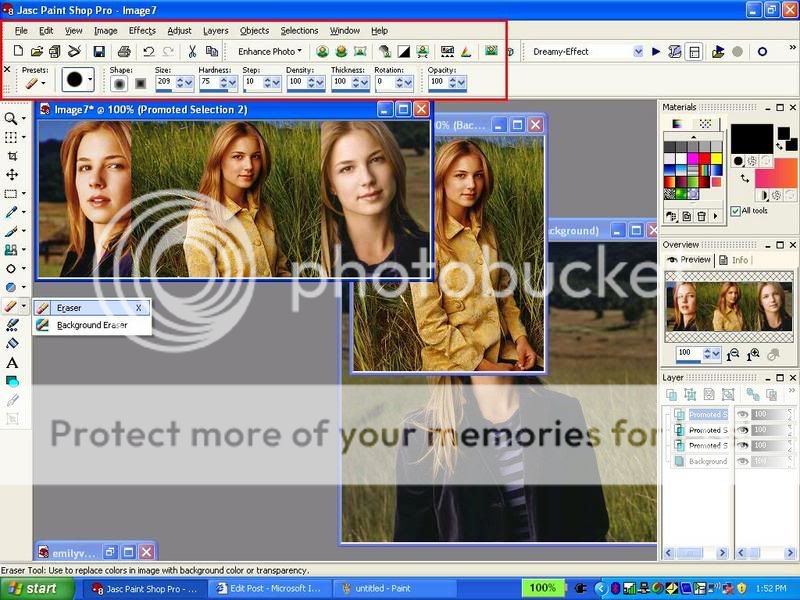
18. then selct your topest layer in ur layer palette. (ur4th layer)
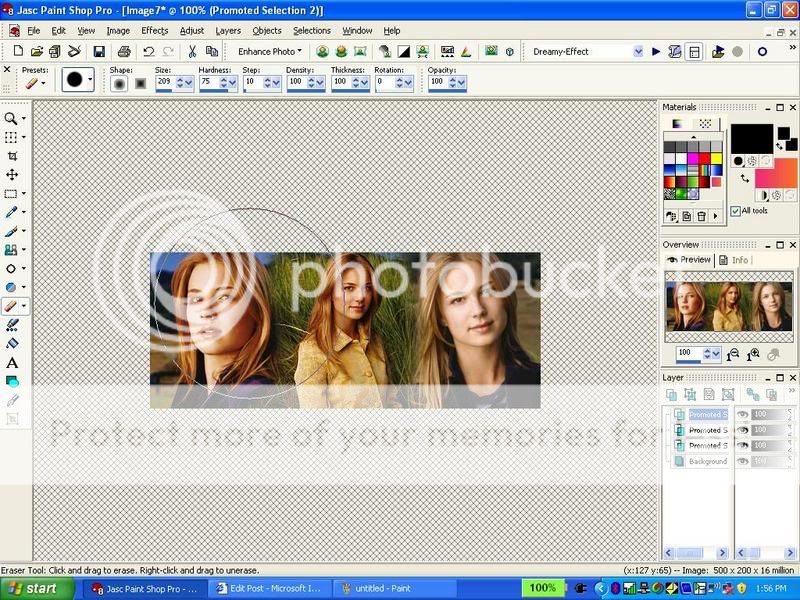
19. Erase a bit of your 3rd pic on ur sigy with the tool so it looks kinda blended with the pics below it. Like this:
20. Now repeat the eraser tool if you want with your 2nd and 1st pic if you want. But i thnk that im done with that part.
*****You dnt have to do this******
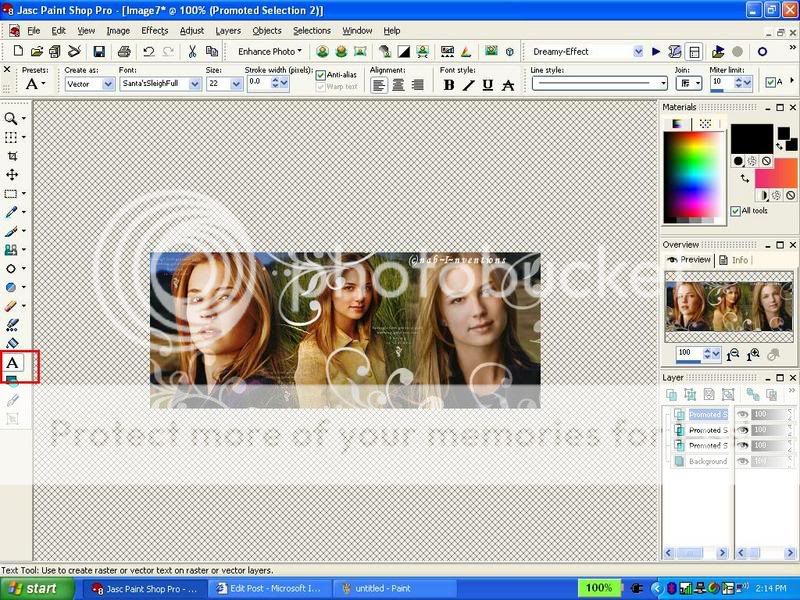
21. I will add some brushes now.
22. Select your brush tool:
23. Choose your brush color from your materials palette (i will choose white)
24. Choose your brushes from here: (i added most of my brushes..if u r a starter u probably have the normal brushes that PSP came with. You can use those.)

25. Add your brushes. where you want..this is what i got using the brushes i added...as i said b4 u can use the strters ones too. (i put a copyrite brush on there i made)

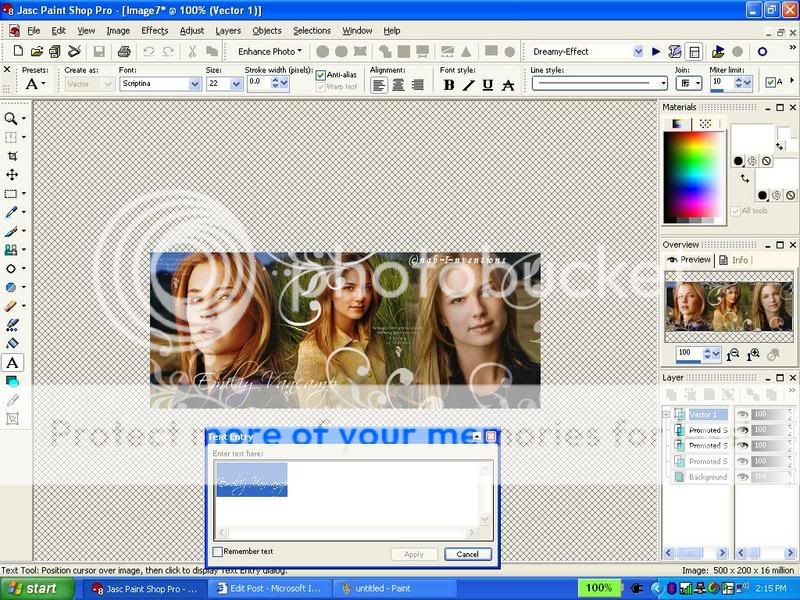
26. Now i will add text: choose your text tool:
27. Type you text..selct the text and choose he text color and font and font size...click apply...you can also move ur text in different places...u can slant it etc...
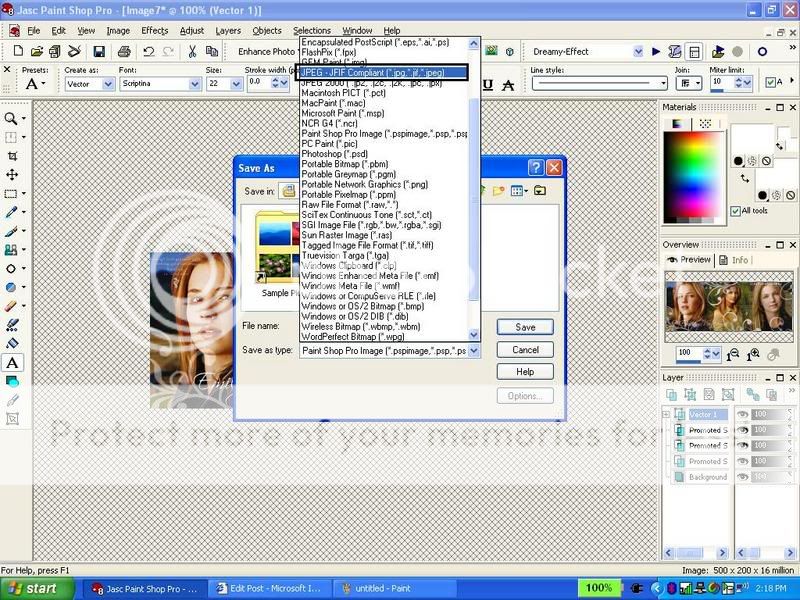
28. press f12 or save as under file and save it: type ur name...but change the file type into a ----.jpg... (there are two jpg choices , choose the one i highlighted....


 Kyunki Saas Bhi Kabhi Bahu Thi 2

