


Posted:
please can one post giliter sigy maker softwear pleas 😭 😭 😭
Originally posted by: priyanka_lovernoo reply 😭
Look here:
Hey everyone, i have got requests and ques on How to make a siggy...so i thought i wud make a tutorial...and ofcourse if you need further help...feel free to pm me😳 So here it goes..and please do tell me if you thnk this is help full😛
"How To Make A Simple Siggy Tutorial (using PSP 8)"
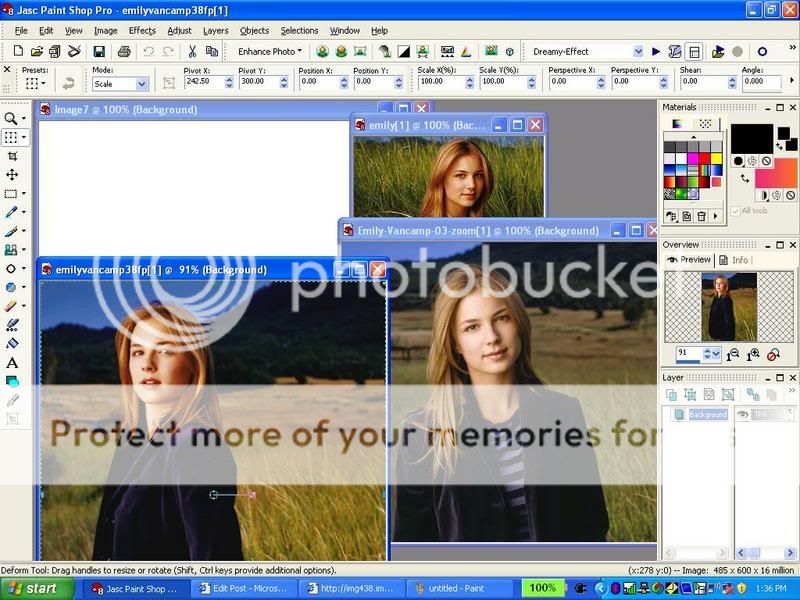
1. Open a new image (ctrl+n) about (w)500x(h)200. Click ok
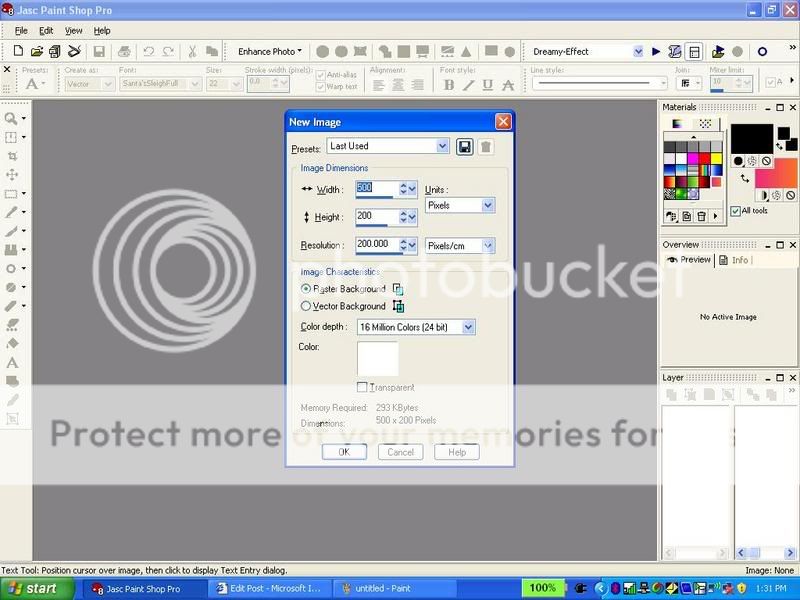
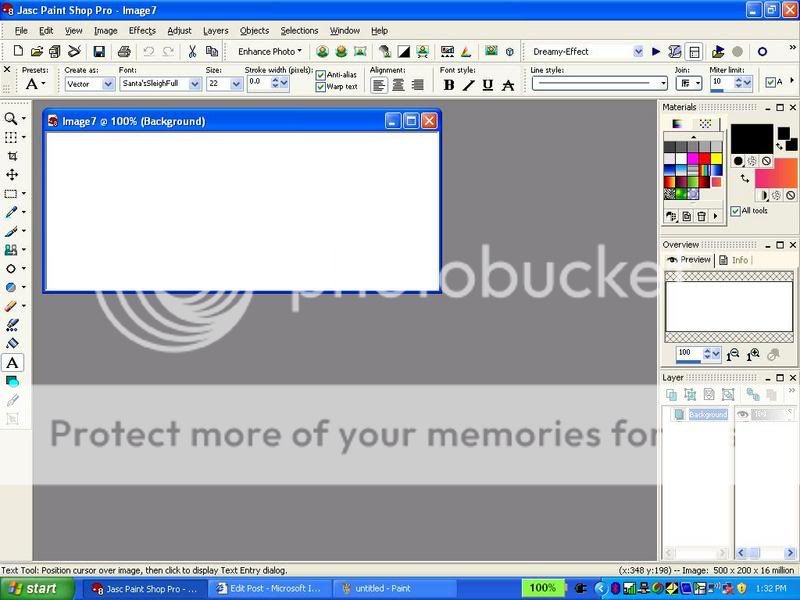
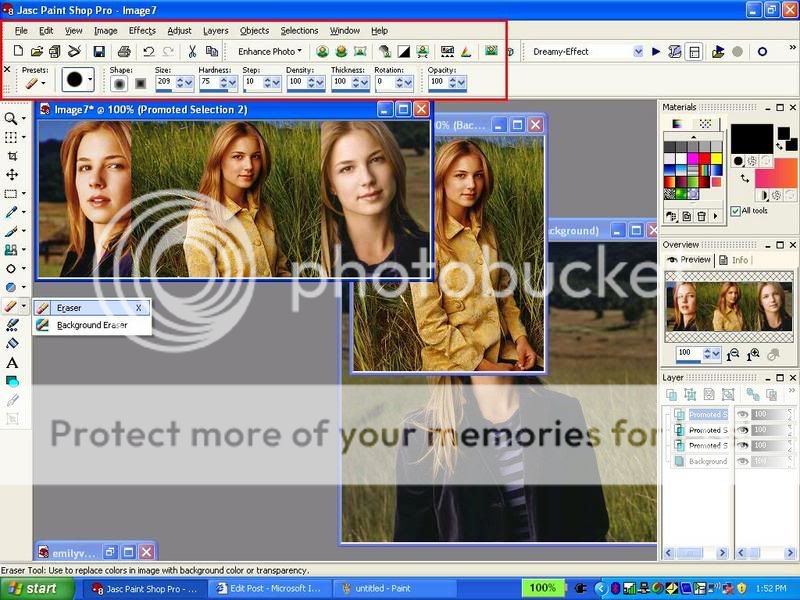
2. You should see something like this:
3. Choose about 2-3 pictures you want in your siggy. I will choose these for the tutorial:

4. Drag the pictures into PSP 8.
5. Click on the blue bar of the 1st picture (to get that picture)
6. ctrl+a (selct all) and ctrl+c (copy) that 1st picture
7. Go to your blank new image and click on the blue bar of that blank image
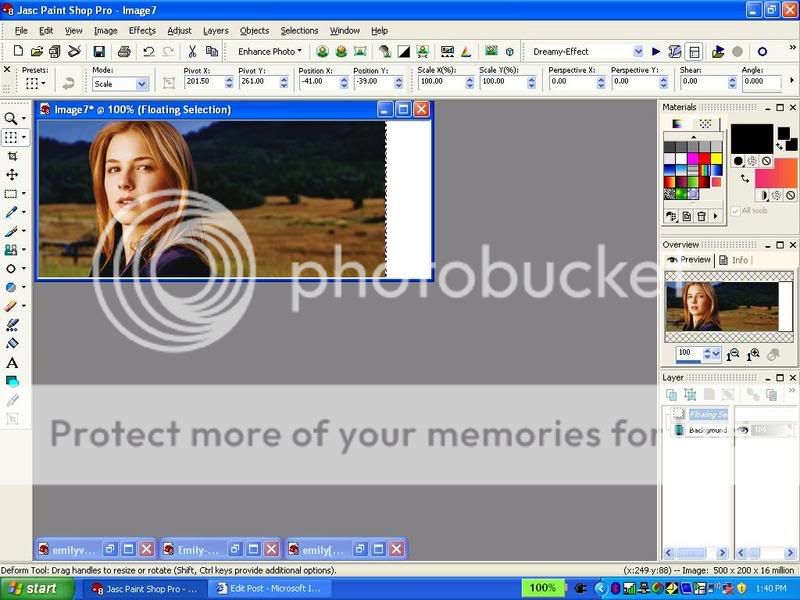
8. ctrl+e (paste - doNOTdo: ctrl+v)
9. That image shud appear onto your blank siggy:
10. click on the deform tool:
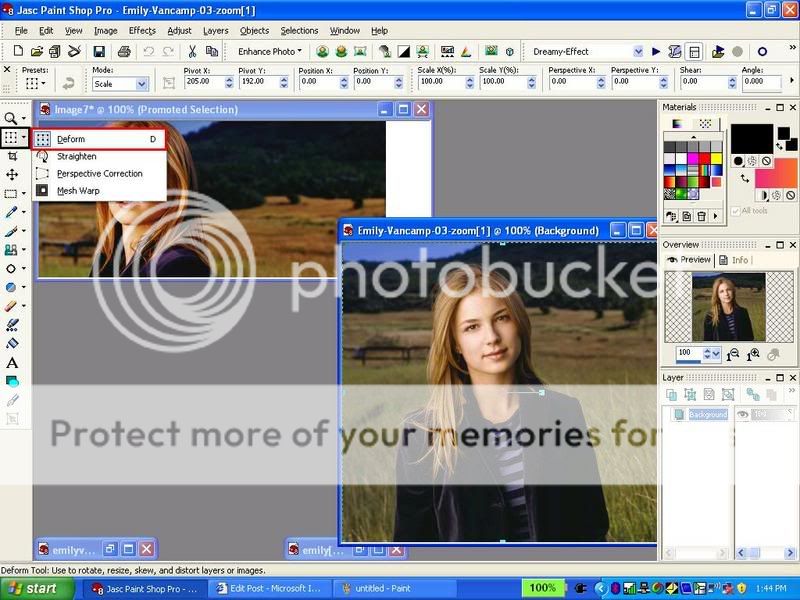
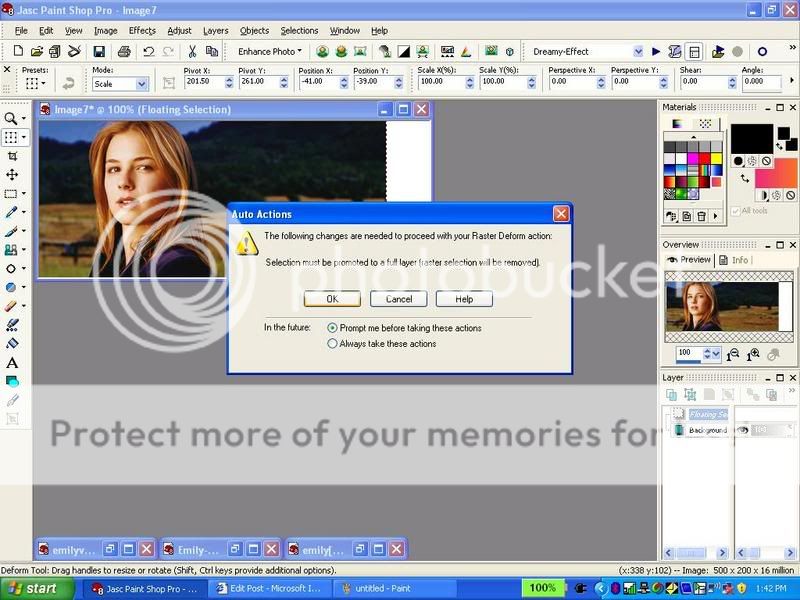
11. Click on that picture and a message like this shud come up. Click ok. this will make a Promoted layer for you. This is very important. Check you layers palette to see if you have now two layers: Backround and Promoted Layer.
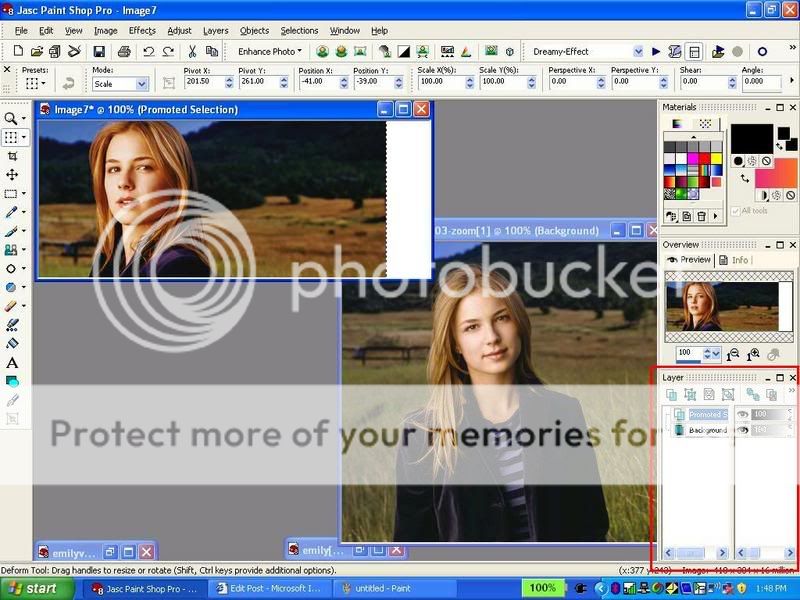
12. You can change the place and size of your 1st pic w/ the deform tool...do this if you want before you go onto the second pic.
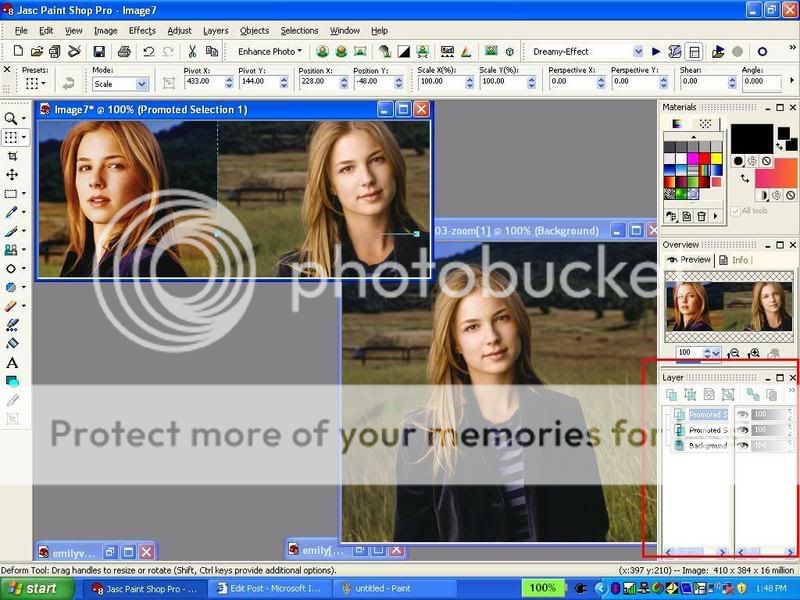
13. Ok, now go to your second picture: repeat the same things that you did with your 1st picture. (add the pic to ur siggy basically the way u did with your 1st pic)
14. Now you should have 3 layers in your layer palette of your siggy
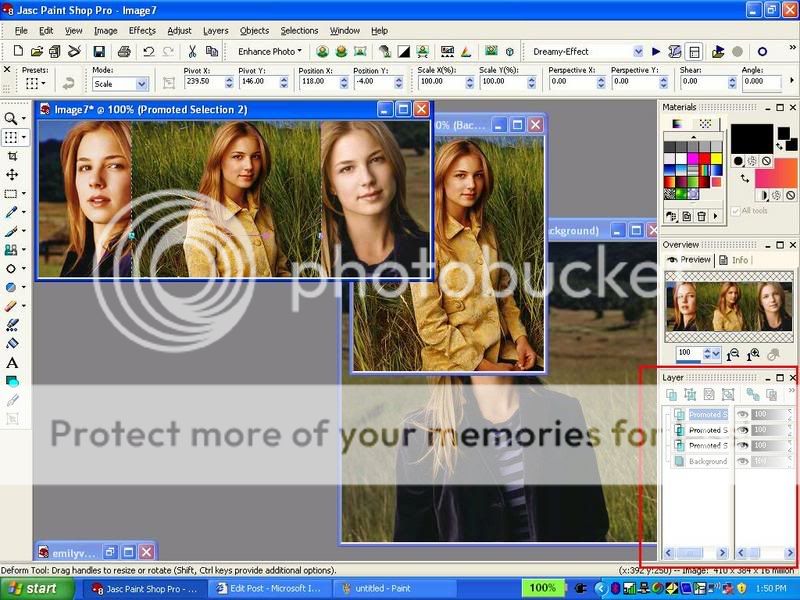
15. Now Add your 3rd pic the way u did with ur 1st and second pic
16. Now you should have 4 layers in your layer palette.
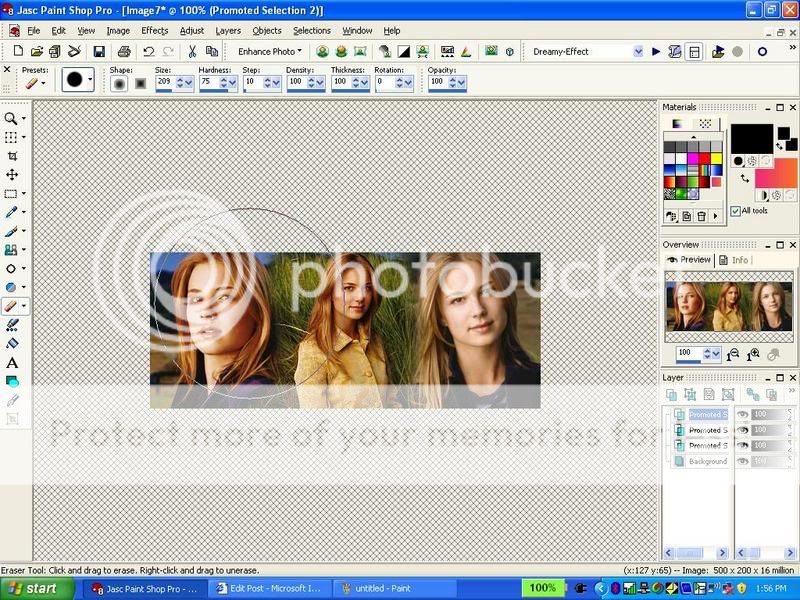
17. Now your siggy looks kinda unblended right? well i have a little secret i use to blend...i use the eraser tool: So selct this tool. Make the settings like mine (second pic) (but ofcourse you can adjust the settings urself to fit ur preference)
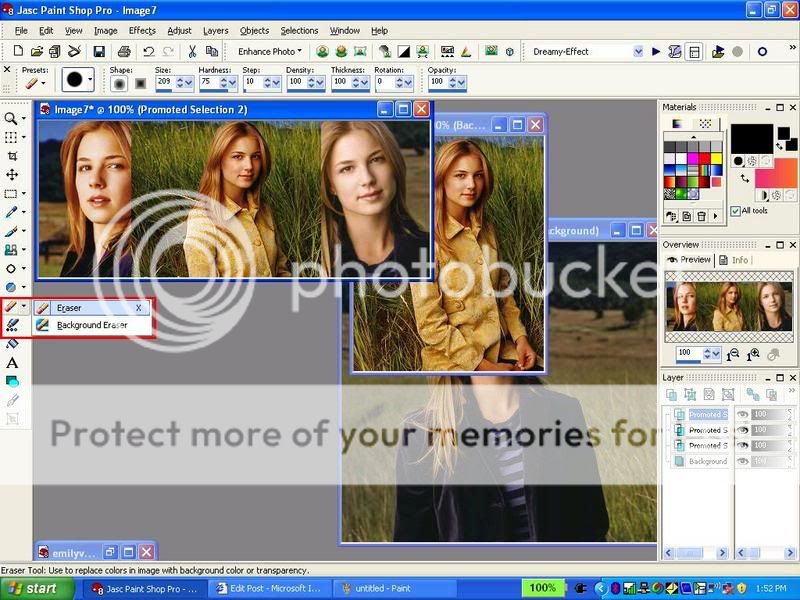
18. then selct your topest layer in ur layer palette. (ur4th layer)
19. Erase a bit of your 3rd pic on ur sigy with the tool so it looks kinda blended with the pics below it. Like this:
20. Now repeat the eraser tool if you want with your 2nd and 1st pic if you want. But i thnk that im done with that part.
*****You dnt have to do this******
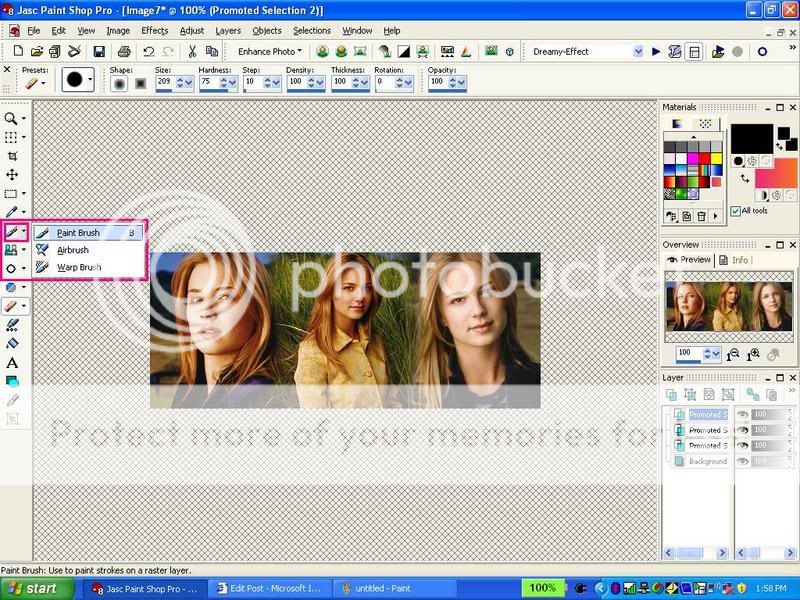
21. I will add some brushes now.
22. Select your brush tool:
23. Choose your brush color from your materials palette (i will choose white)
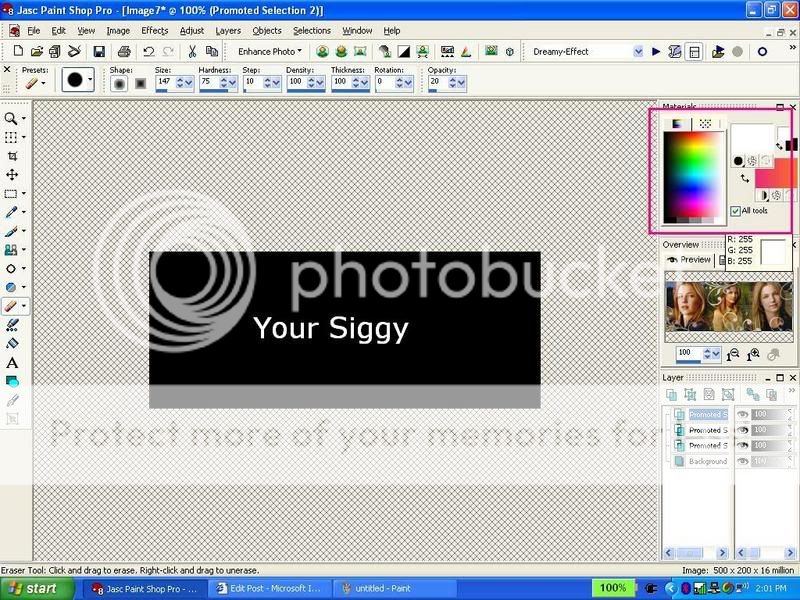
24. Choose your brushes from here: (i added most of my brushes..if u r a starter u probably have the normal brushes that PSP came with. You can use those.)

25. Add your brushes. where you want..this is what i got using the brushes i added...as i said b4 u can use the strters ones too. (i put a copyrite brush on there i made)

26. Now i will add text: choose your text tool:
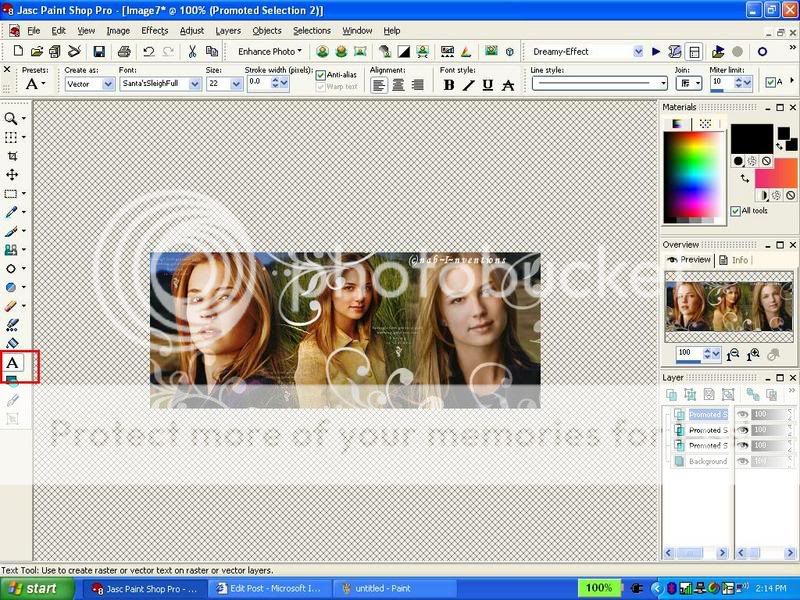
27. Type you text..selct the text and choose he text color and font and font size...click apply...you can also move ur text in different places...u can slant it etc...
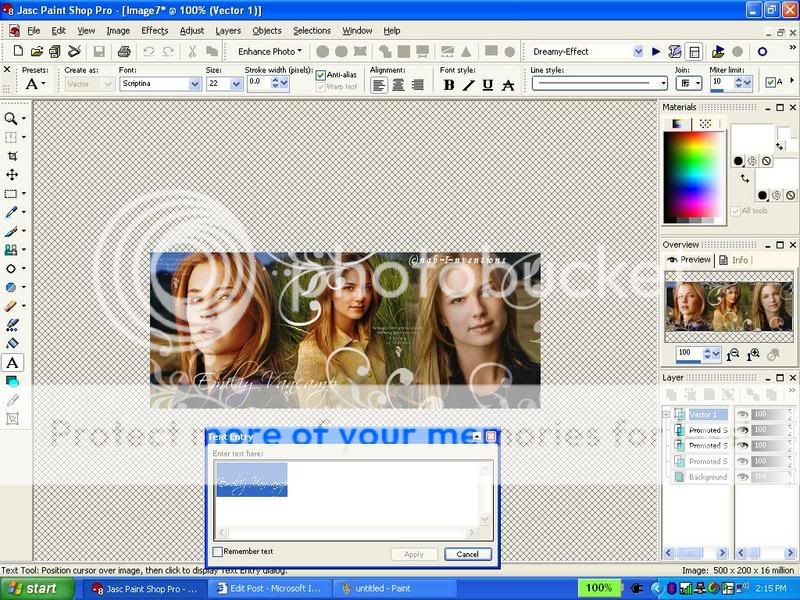
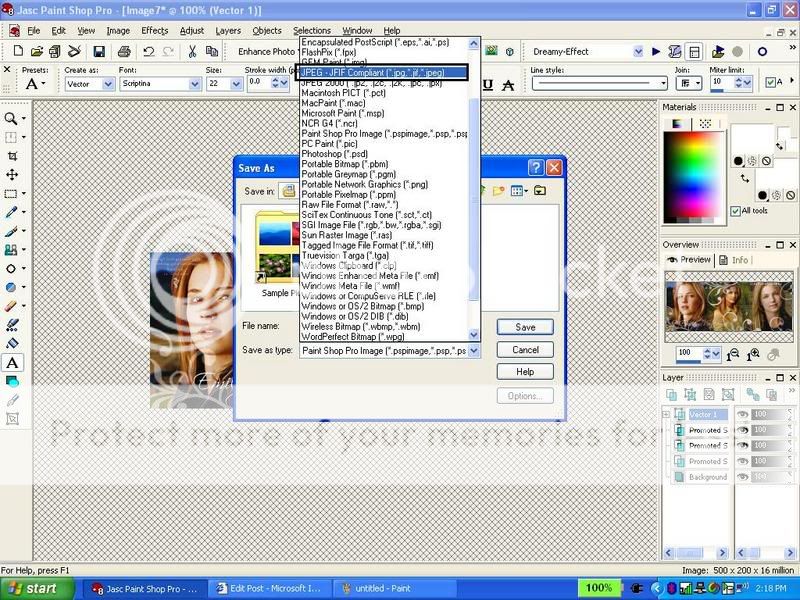
28. press f12 or save as under file and save it: type ur name...but change the file type into a ----.jpg... (there are two jpg choices , choose the one i highlighted....
29. 👏AND YOUR DONE!!! CONGRADULATIONS! YOU HAVE MADE YOUR 1st SIGGY!👏
30. Now upload your siggy and share it with me and everyone here!
Tips:
1. You will definately improve as you make more sigs just like me!😳
2. Brushes are a little bit more for advanced and experienced PSP users...beginers can use it after they are a little more familiarized with PSP
3. Dont care that much about the appearance of the siggy! its the effort that counts!!!!!
4. ALWAYS! ALWAYS! add ur copyright sign either using text tool or brush!
Palette/Toolbar tips:
how to see your layer palette: view>palettes>layers
how to see your toolbar: view>toolbars>tools
how to see overview: view>palettes>overview
Have FUN!
did this help?
p.s. this tutorial is copywrited so please dont claim it as ur own!
~Nabihah...


Hey guys some ppl were looking for a how to make a vidoe avi tutorial...so i thought of making one...here is how:
How to Make a Simple Video Avatar:
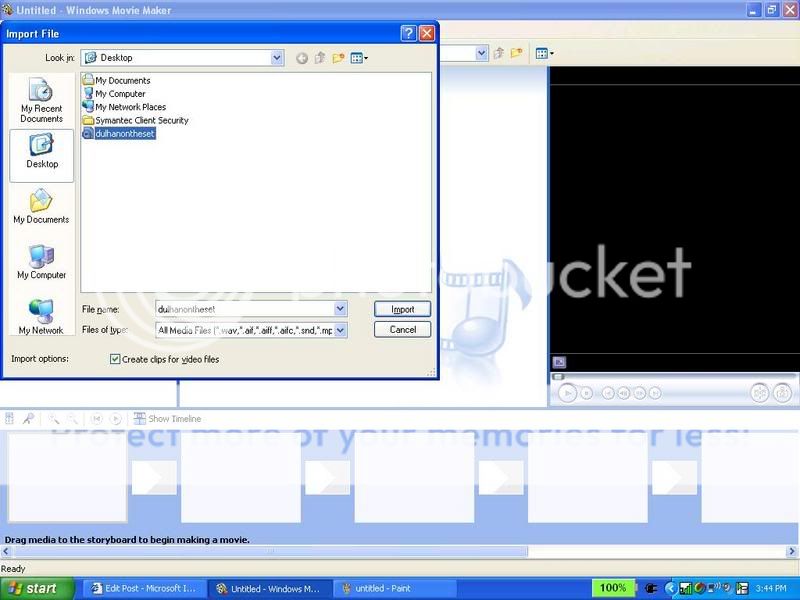
1. Open Windows Movie Maker (shud come with all computers or you can download it for free at )
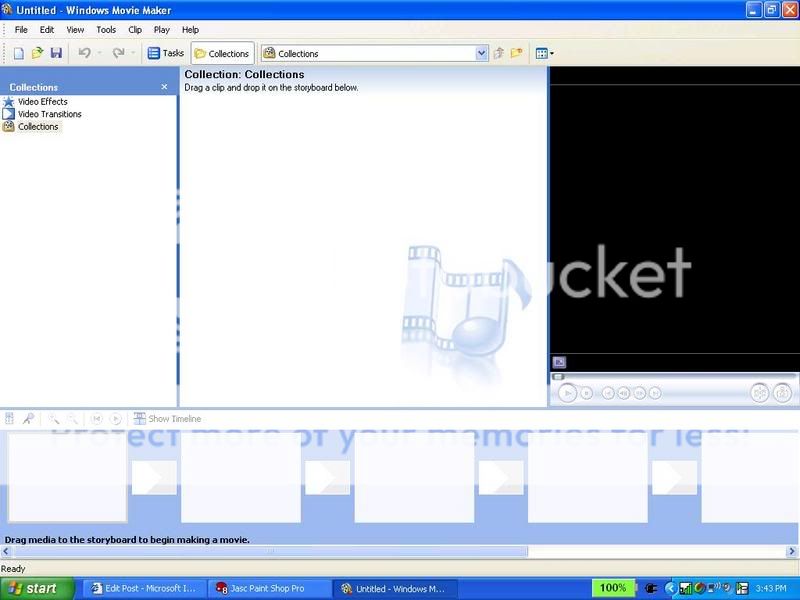
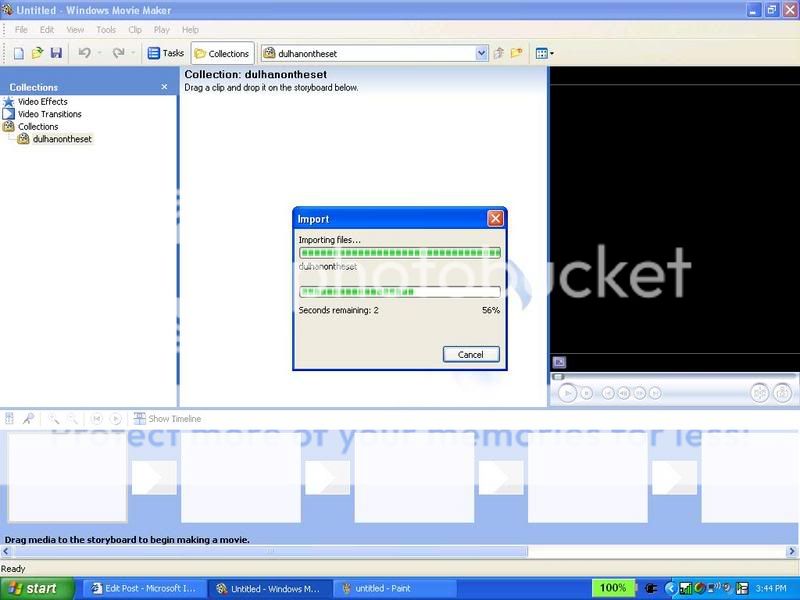
2. Import the video you want in your video avi (ctrl+I) choose the file and click import. something like the second pic shud come up
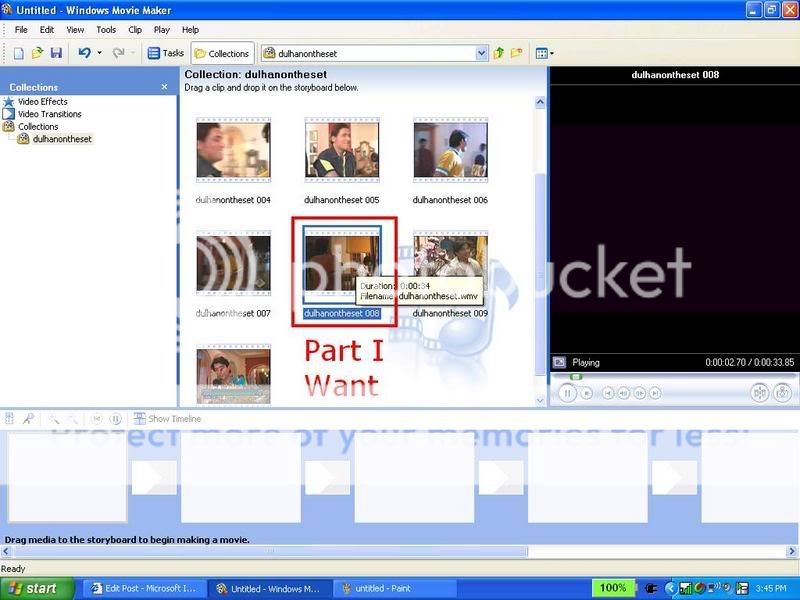
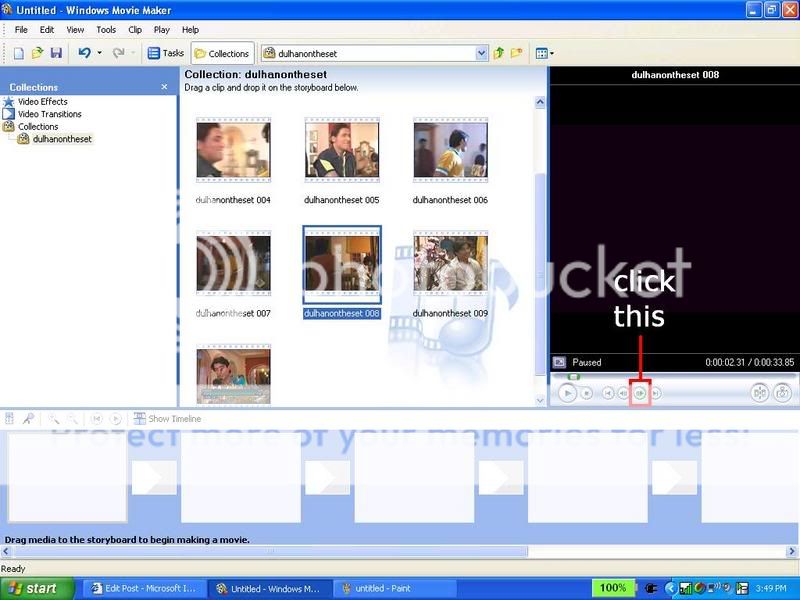
3. then find the part you want in your avi. click on that clip
4. now click this button: and save your pic (keep the name they give you)
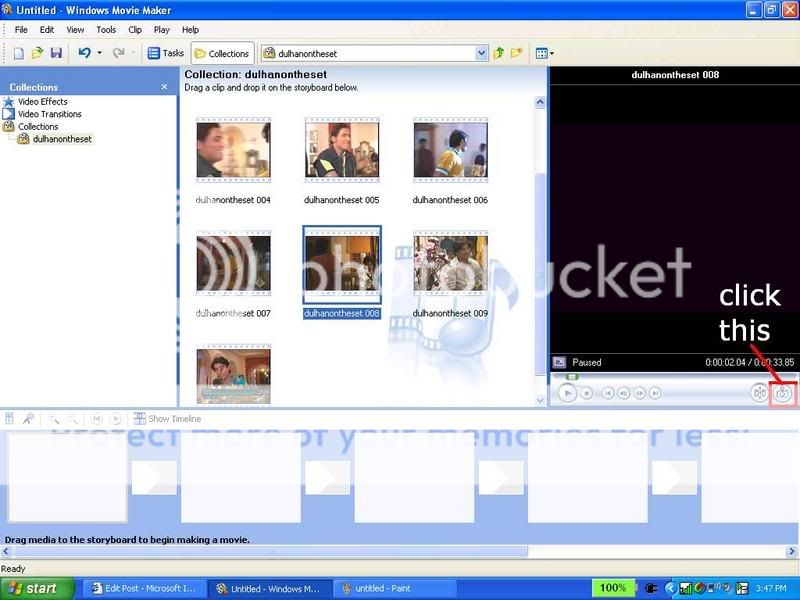
5.then click this button only once
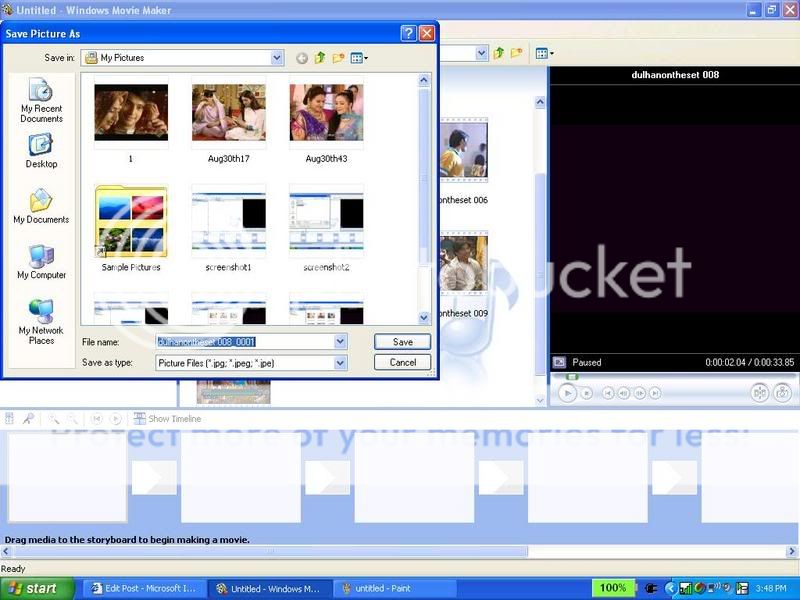
6....and click that camera button to save that picture.. (same you did with step4)
7. Repeat steps 5-6 until you get all ur videoshots
8. You can close windows movie maker if you want now
9. Open animation shop
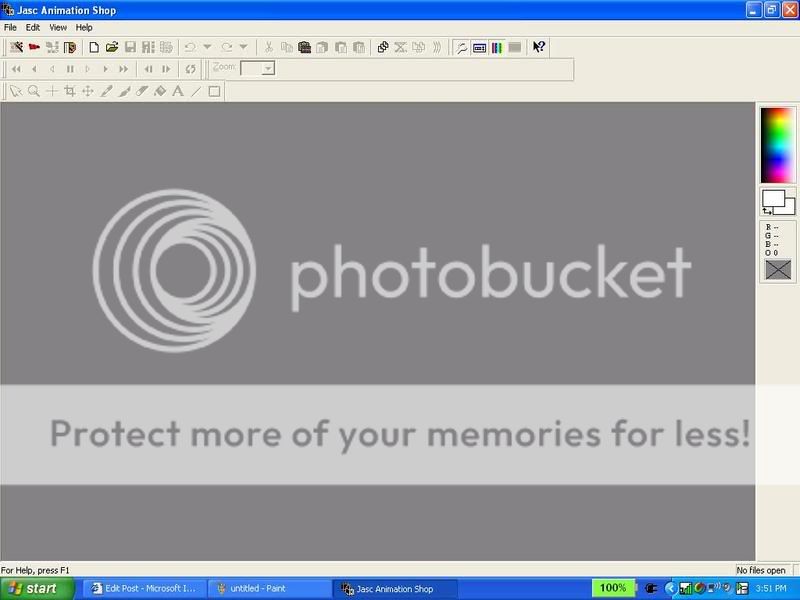
10. Drag the 1st pic of your video avi onto the animation shp screen
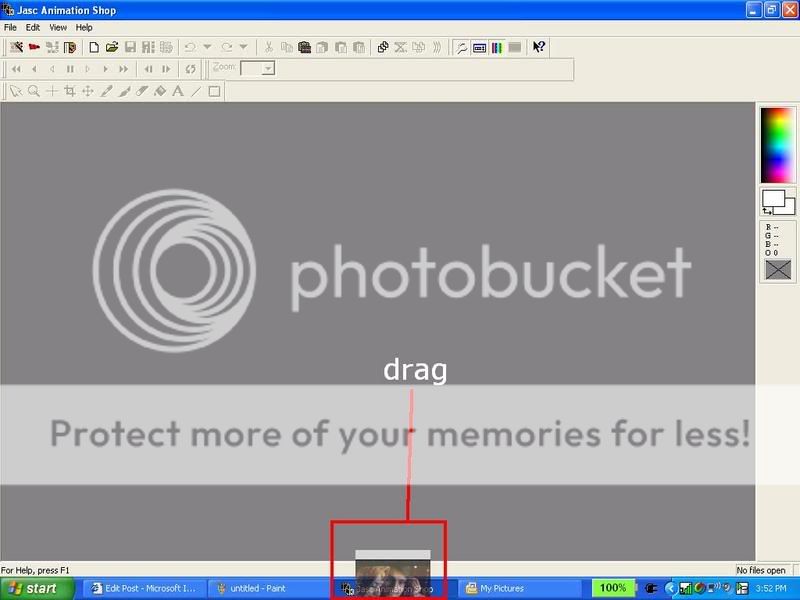
11. It shud come up like this:

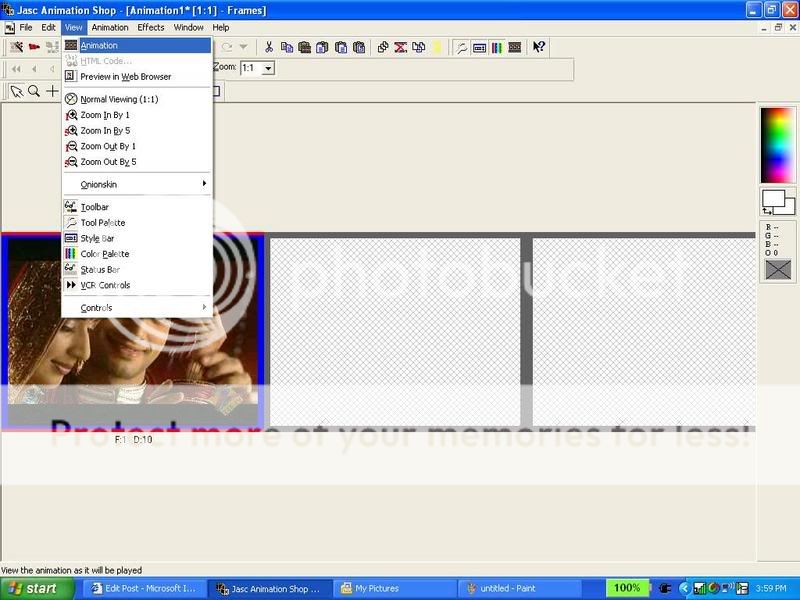
12. now maxamize that animation by clicking this:
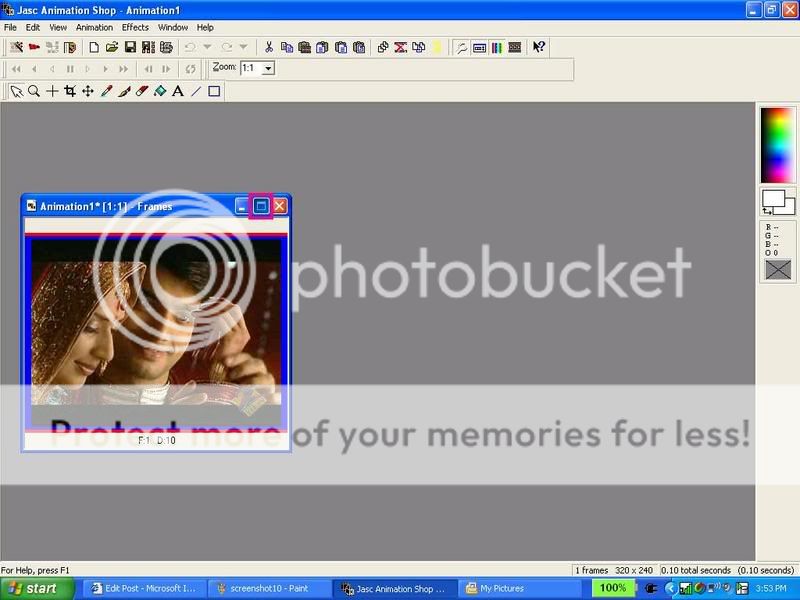
13, shud come up like this:
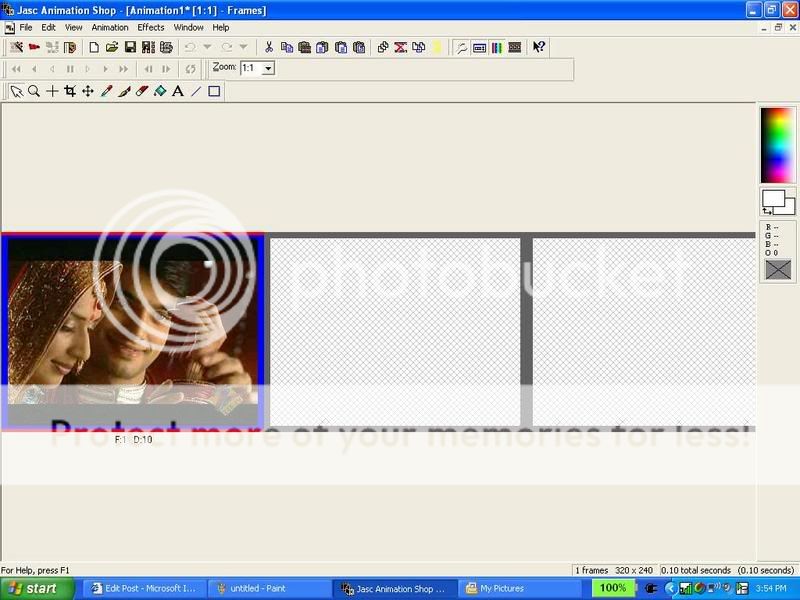
14. now go to animation>insert frames>from file
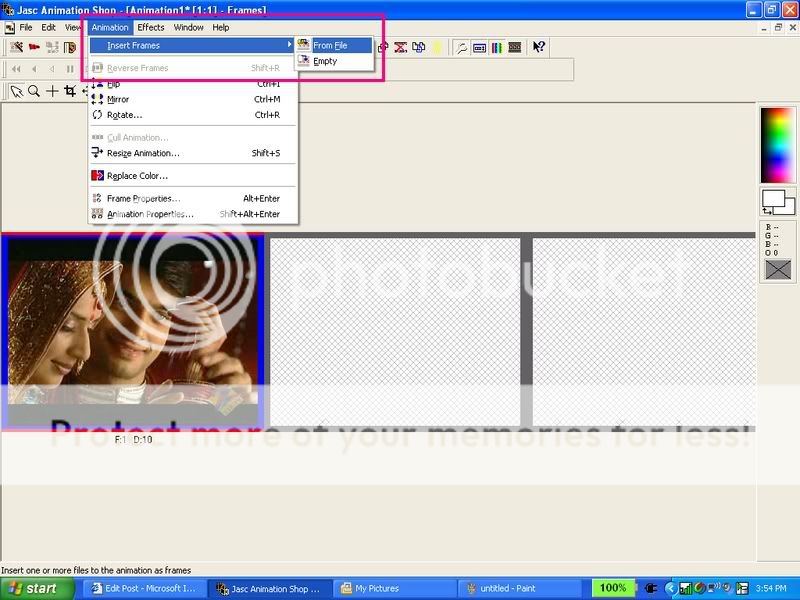
15. then something like this shud come up: click add files.
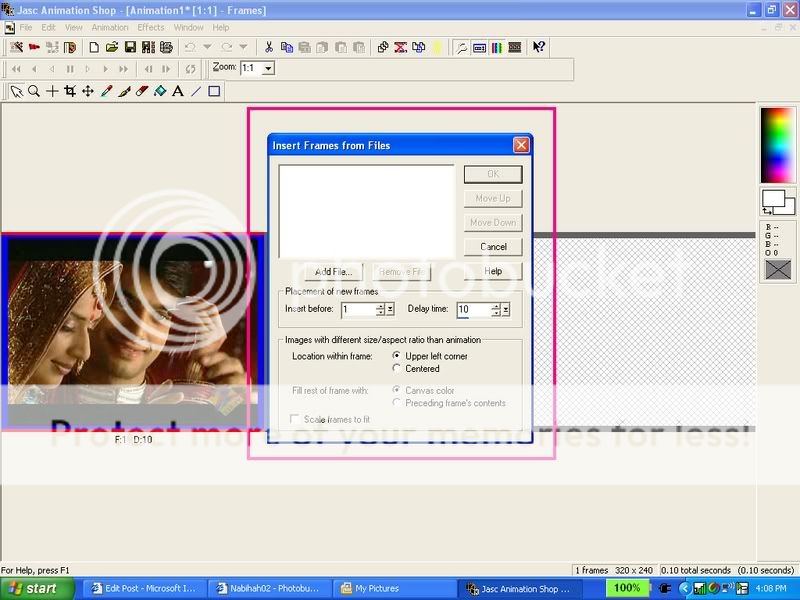
16. add all the pix u captured from the video except the one you dragged
17. then go to insert frames after: and chnge it to 2
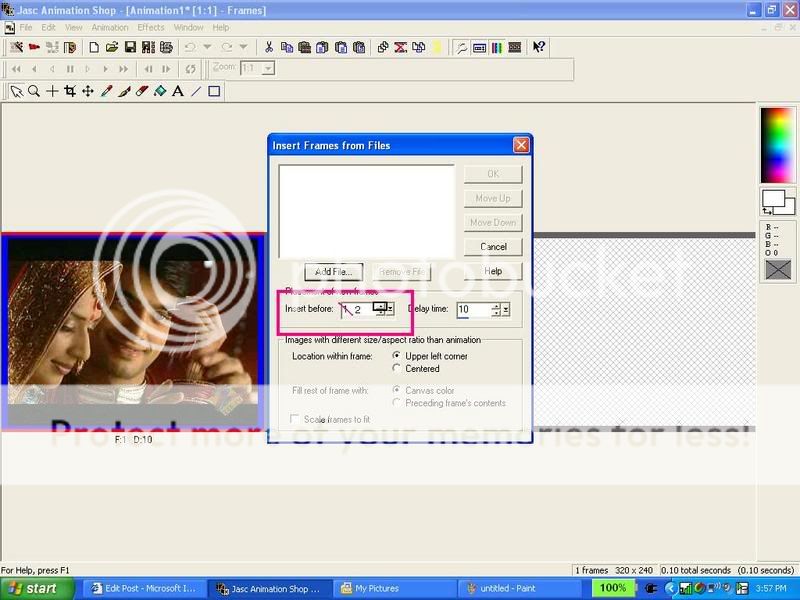
18. click ok
19. view ur animation
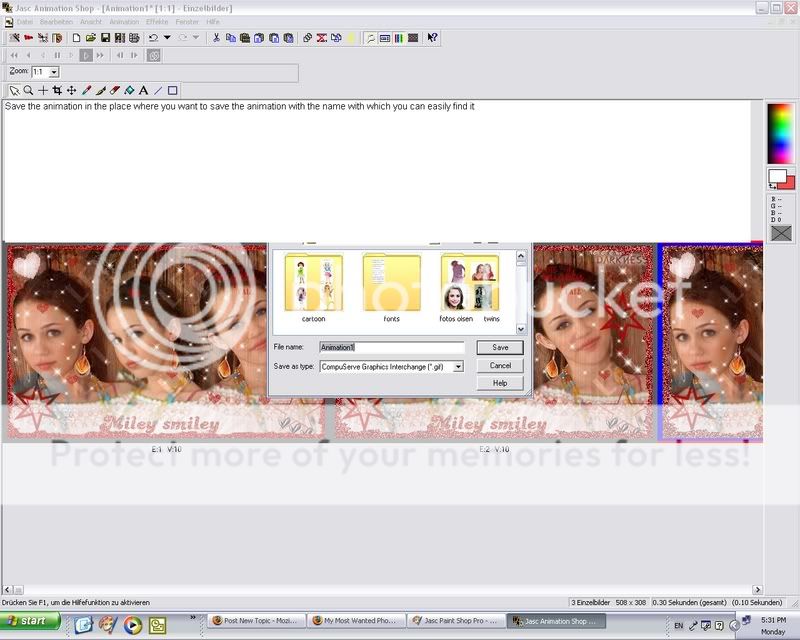
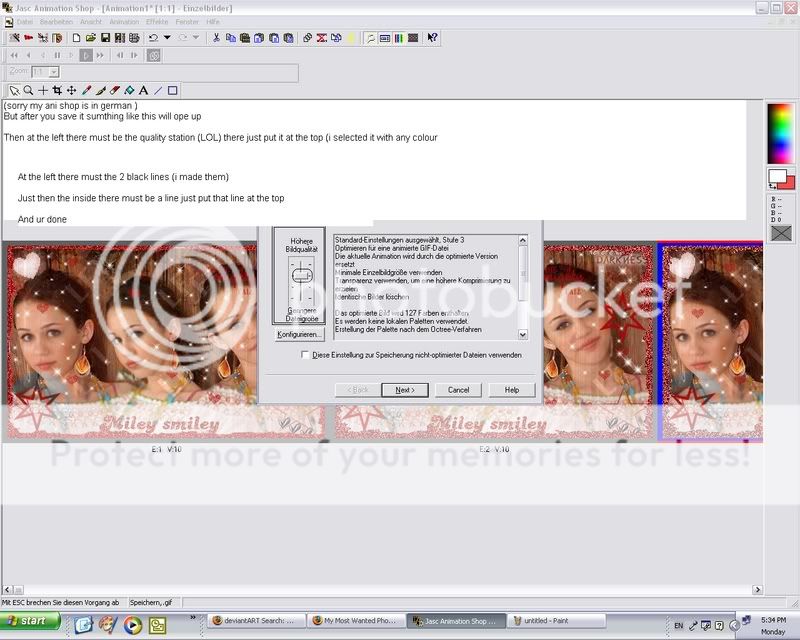
20. Save it
AND YOUR DONE!!!!!
Tips:
1. How to open windows movie maker if you dont know how:
my computer>C drive>program files>movie maker> moviemk
WMK shud opn now. If it still doesnt thn download it from
2. You can add text and borders and animation effects to ur avi but i wud suggest not to if you are a beginner .
3. you cna resize your animation by pressing shift+s (not ctrl)
4. Ask me for n e ques...😃
~Nabihah
| topics | author | replies | views | reply |
|---|---|---|---|---|
| ExoticDisaster | 35 | 2523 |


comment:
p_commentcount